Everything can be done with budget
Easy & Stylish DIY Pantry Labels on a Budget: 17 Fun Ideas to Organize Your Kitchen
DIY Pantry Labels honestly saved my sanity. I was tired of buying duplicates, finding expired ingredients, and feeling like my pantry was fighting me instead of helping me. With DIY Pantry Labels, I can see exactly what I have at a glance, what needs refilling, and what should be used first. It sounds simple, but having clear, consistent labels changed how I move through my kitchen and made everything feel calmer and more intentional.
What I love most about DIY Pantry Labels is that they remove the need for constant tracking apps or spreadsheets. I do not want another system that needs daily updates. With DIY Pantry Labels, I rely on visibility, not memory. When containers are labeled clearly, I naturally notice when something is running low. It works the same way practical furniture does, like a DIY Sofa Table; it fits into real life without asking for extra effort or maintenance.
From my experience, DIY Pantry Labels work best when they are paired with simple containers and consistent placement. I label staples, baking items, and anything I tend to overbuy. I do not chase perfection; I chase ease. DIY Pantry Labels give me a low-effort system that actually sticks, reduces waste, and makes cooking at home feel enjoyable again instead of overwhelming.
Why You Need to Choose these DIY Pantry Labels on a Budget
Choosing the idea of DIY Pantry Labels can completely transform the way your kitchen looks and functions. When pantry items are clearly labeled, it becomes easier to find what you need, reduce food waste, and keep track of expiration dates. Clear labeling supports better food storage habits, helps with proper rotation of dry goods, and makes meal preparation faster and more efficient. Instead of digging through shelves or guessing what’s inside a container, everything becomes visible and accessible at a glance.
Beyond functionality, DIY Pantry Labels also bring a polished and cohesive look to your space. An organized pantry can reduce daily stress and save valuable time during busy mornings or dinner prep. Creating your own labels allows you to personalize fonts, colors, and materials to match your kitchen style. Whether you prefer minimalist black-and-white designs or something more decorative and rustic, DIY labeling adds both beauty and structure to your pantry.
Some Helpful Tips to Consider
When creating DIY Pantry Labels, start by choosing durable materials that can handle everyday use. Waterproof vinyl, laminated paper, or reusable chalkboard labels are practical options because they resist spills and can be wiped clean easily. Make sure the font is clear and easy to read from a distance—simple, bold lettering usually works best.
It’s also helpful to organize items into categories before labeling. Group baking supplies, grains, snacks, spices, and canned goods together so your pantry feels structured and intentional. Consider adding purchase or expiration dates on the back or bottom of containers to encourage proper rotation and minimize waste. Finally, keep your label design consistent throughout the pantry to create a clean, professional look that feels both organized and inviting.
17. Chalkboard Stickers Labels
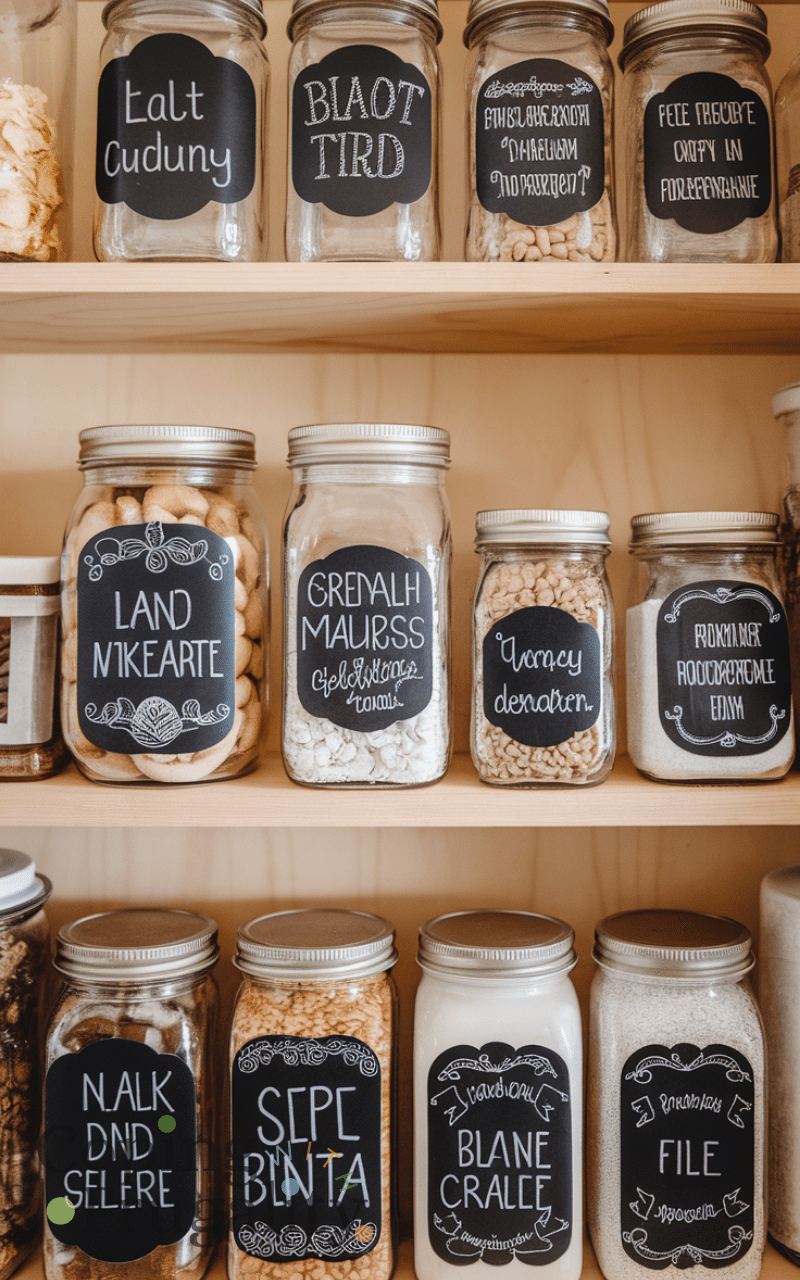
Chalkboard stickers are a classic and affordable option for DIY pantry labels on a budget. You can stick them directly onto jars, cans, or containers and write with a simple chalk marker. The best part? You can erase and rewrite anytime you switch ingredients. Chalkboard stickers give a rustic and stylish touch to your pantry without spending much, making it perfect for those who want functional labels while keeping the budget low. Plus, it’s fun to get creative with different fonts or doodles to make your pantry feel personalized and charming.
I’ve used chalkboard stickers for years, and for around $8–$15 for a decent pack plus a good chalk marker, they’re one of the most forgiving options out there. When I first started, I bought the cheapest markers I could find and instantly regretted it—smudging everywhere—so I always recommend investing in one quality chalk marker and saving elsewhere. A money-saving trick I swear by is cutting larger stickers in half for smaller jars instead of buying multiple sizes. In my opinion, these work best for ingredients that rotate often, like baking supplies. The biggest mistake I see is writing in tiny cursive that looks cute up close but is impossible to read from a step stool.
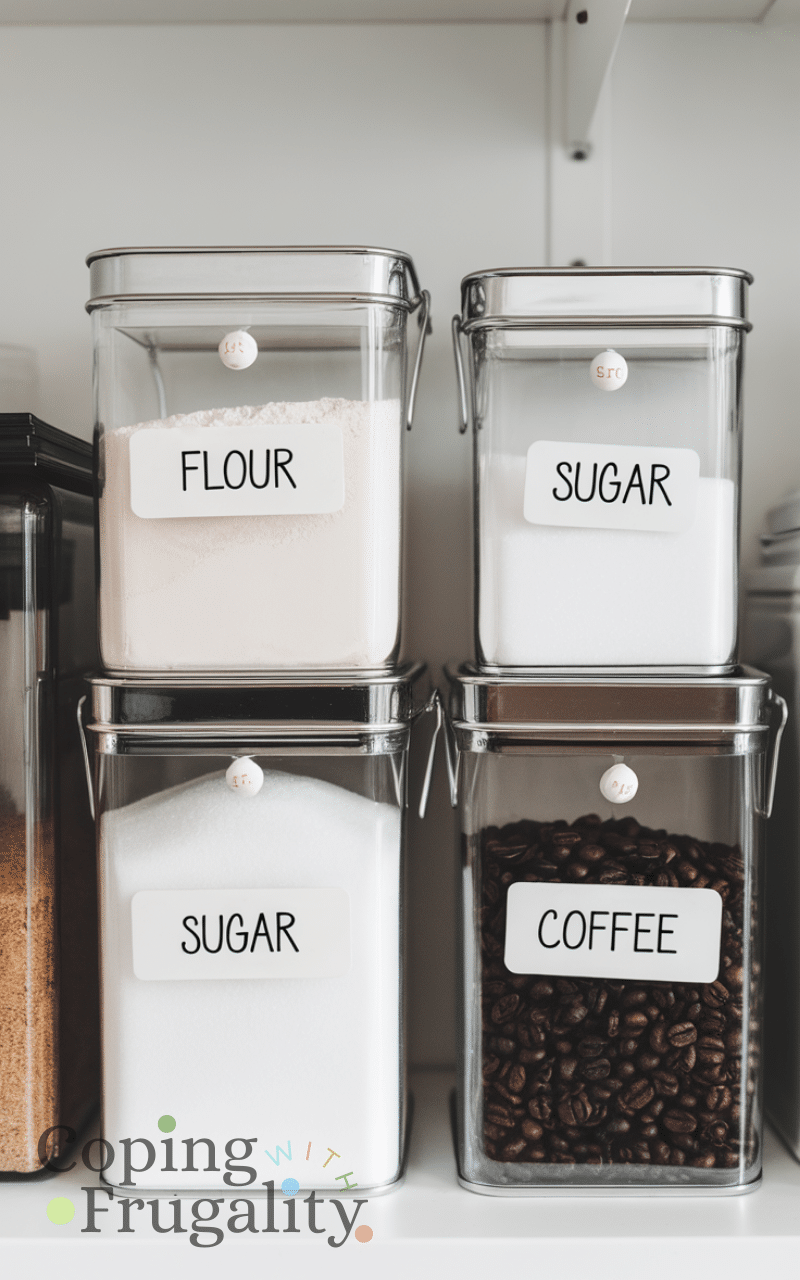
16. Printable Labels
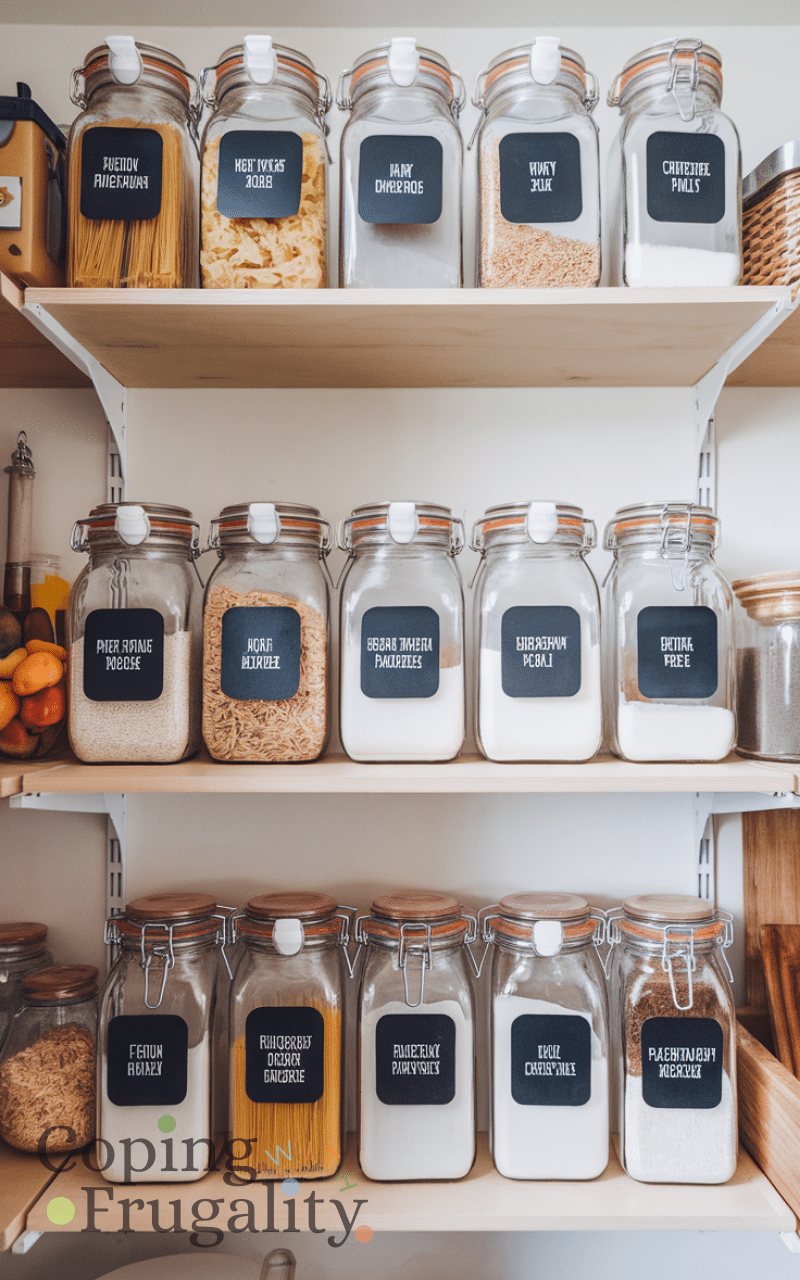
Printable labels are a lifesaver when you want a neat and polished look for your pantry. Using your home printer, you can design stylish labels with fun fonts and even small illustrations. Printable labels are perfect for DIY pantry labels on a budget because you can make as many as you need without buying expensive pre-made ones. Laminating them or using self-adhesive paper will make them more durable. This method allows for unlimited customization and gives your pantry a cohesive and organized vibe, all while staying cost-friendly.
I’ve made entire pantry sets with nothing but my home printer, and honestly, $5–$20 covers paper, ink, and maybe laminating sheets if you want them to last. To save money, I design everything at once and print a full sheet instead of wasting half pages here and there. I personally prefer simple black text on white because it ages well and doesn’t lock me into a trendy look I’ll hate in six months. One mistake I made early on was skipping lamination in a humid kitchen—those labels curled fast. If you’re going this route, I strongly recommend self-adhesive waterproof paper if your budget allows.
15. Mason Jar Tags
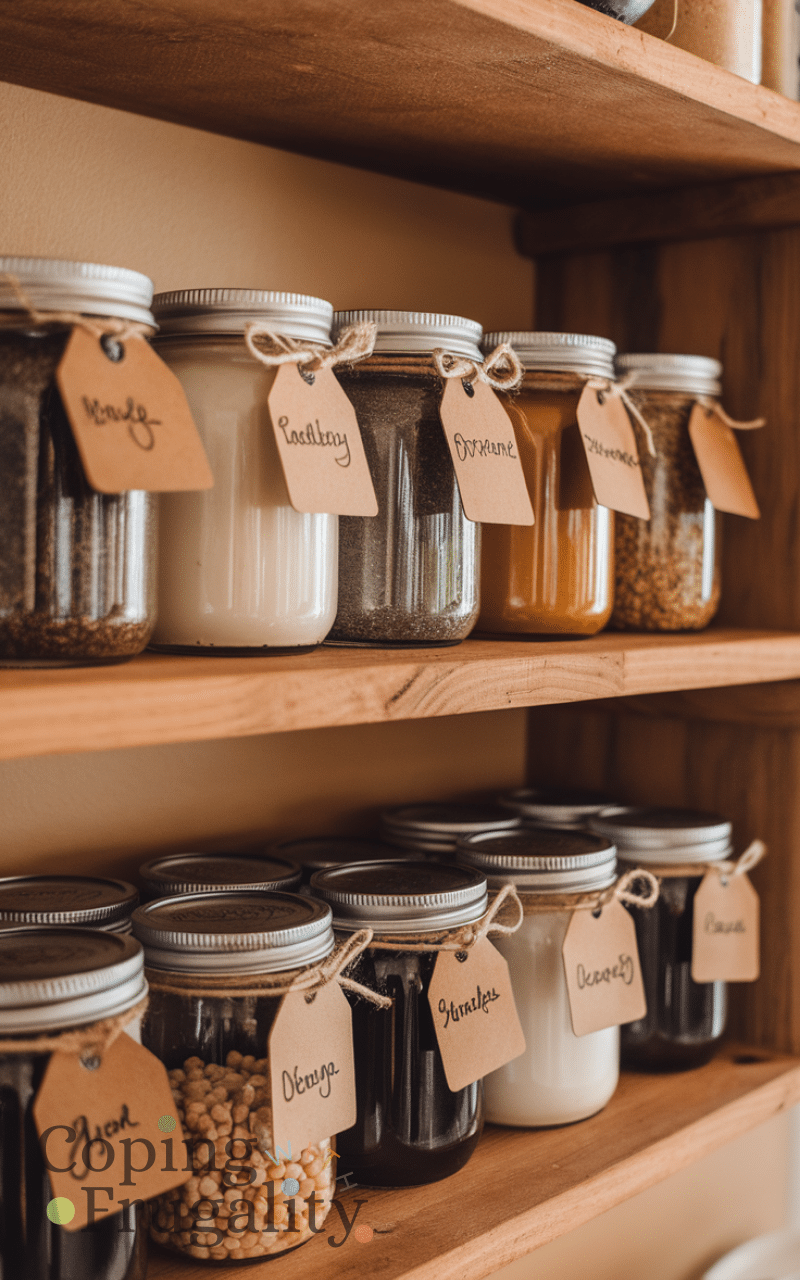
Mason jars are pantry staples, and adding tags to them instantly upgrades your kitchen organization. Using simple cardstock, twine, or ribbons, you can create labels that are easy to swap out whenever you refill the jars. This is a fantastic idea for DIY pantry labels on a budget because it only requires a few inexpensive supplies. You can even color-code the tags by category—spices, grains, or baking essentials. Not only do these tags help you find ingredients quickly, but they also add a cute, rustic charm to your pantry setup.
I love mason jar tags because you can put together a whole set for $5–$12 using cardstock and twine. I usually buy a big roll of twine once and use it for everything, which keeps costs down long-term. If you’re trying to save, repurpose old gift tags or cut up cereal boxes and cover them with kraft paper. Personally, I think these shine in open shelving where you actually see the charm. The common mistake? Making the tags so long they flop over and hide the ingredient name.
14. Washi Tape Labels
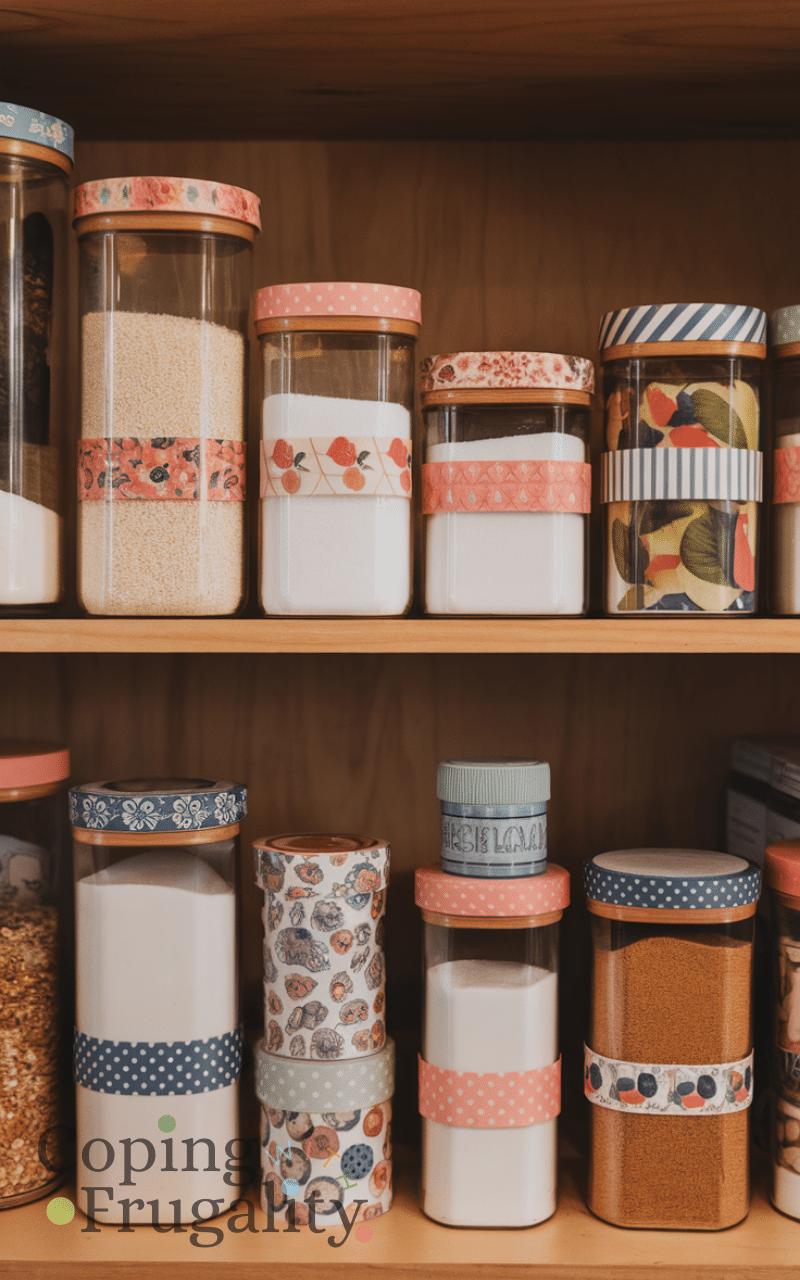
Washi tape is affordable, versatile, and perfect for a quick labeling project. Simply cut small strips, write the name of the ingredient with a marker, and stick them onto your containers. Washi tape comes in so many patterns and colors, making it a creative option for DIY pantry labels on a budget. You can mix and match designs for a fun and cheerful pantry vibe. Plus, it’s easy to replace without leaving sticky residue. Washi tape labels are ideal for anyone who loves a playful touch in their kitchen organization.
Washi tape is one of those $6–$10 purchases that stretches forever in a pantry. I like using neutral patterns so things don’t start feeling chaotic after I mix a few designs. To save money, I only label the front-facing containers instead of every single jar hidden in the back. In my experience, this option is best for short-term storage, not bulk staples you won’t change for years. The biggest mistake people make is sticking it on dusty containers—wipe everything down first or it won’t stay put.
13. Kraft Paper Labels
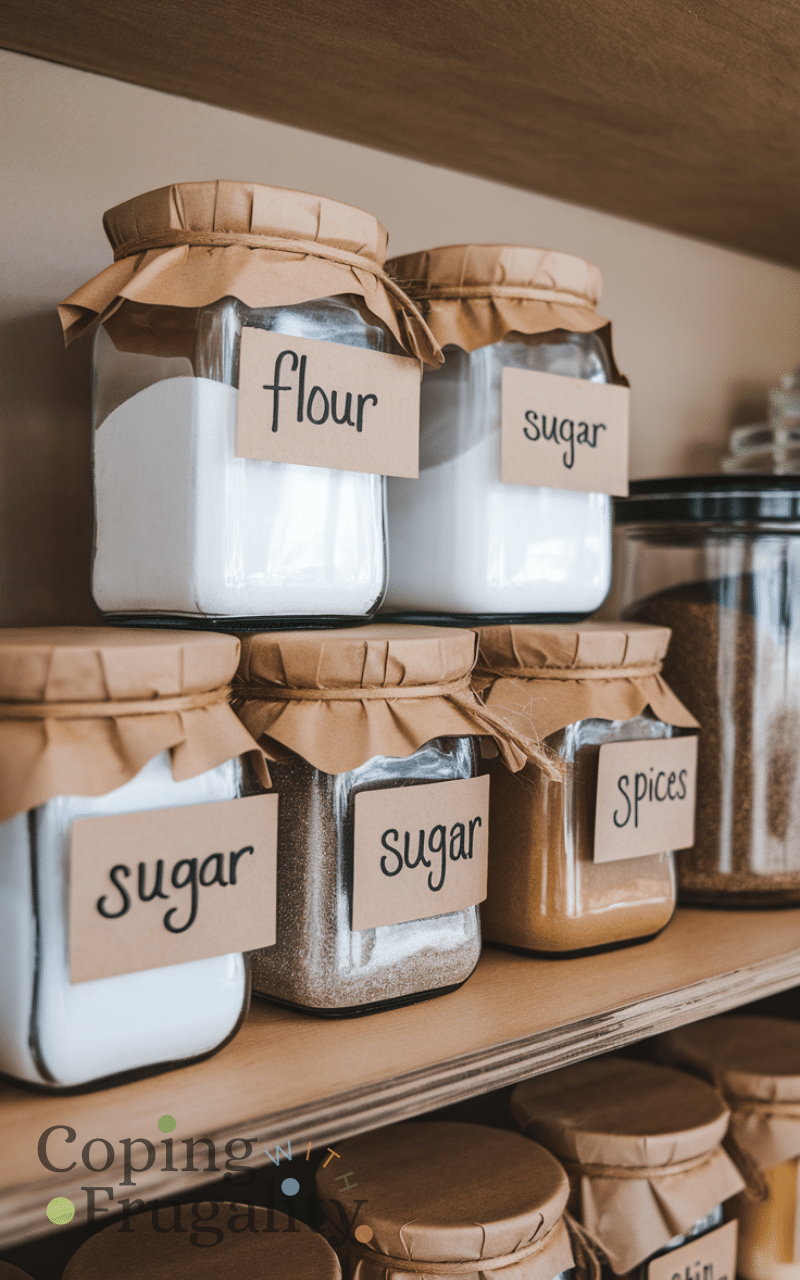
Kraft paper labels give a warm, natural feel to your pantry. Cut them into rectangles, circles, or any shape you like, punch a hole, and tie them onto jars with twine. Using kraft paper is a great option for DIY pantry labels on a budget because it’s inexpensive and eco-friendly. You can handwrite the contents with a marker for a personal touch or use stamps for a more uniform look. This method works well for everything from dry goods to spices and adds a simple, rustic charm to your kitchen.
Kraft paper labels usually cost me under $10 total, and I can make dozens from one pack. I often buy a single stack and use scraps for smaller jars instead of cutting into a fresh sheet every time. Personally, I think the slightly imperfect handwritten look is what makes these special, so I don’t stress about perfect lettering. One money-saving tip is using a basic hole punch instead of buying specialty shapes. A common mistake is skipping a protective layer in busy kitchens—if spills are common, a quick coat of clear sealant helps them last.
12. Pegboard Tags
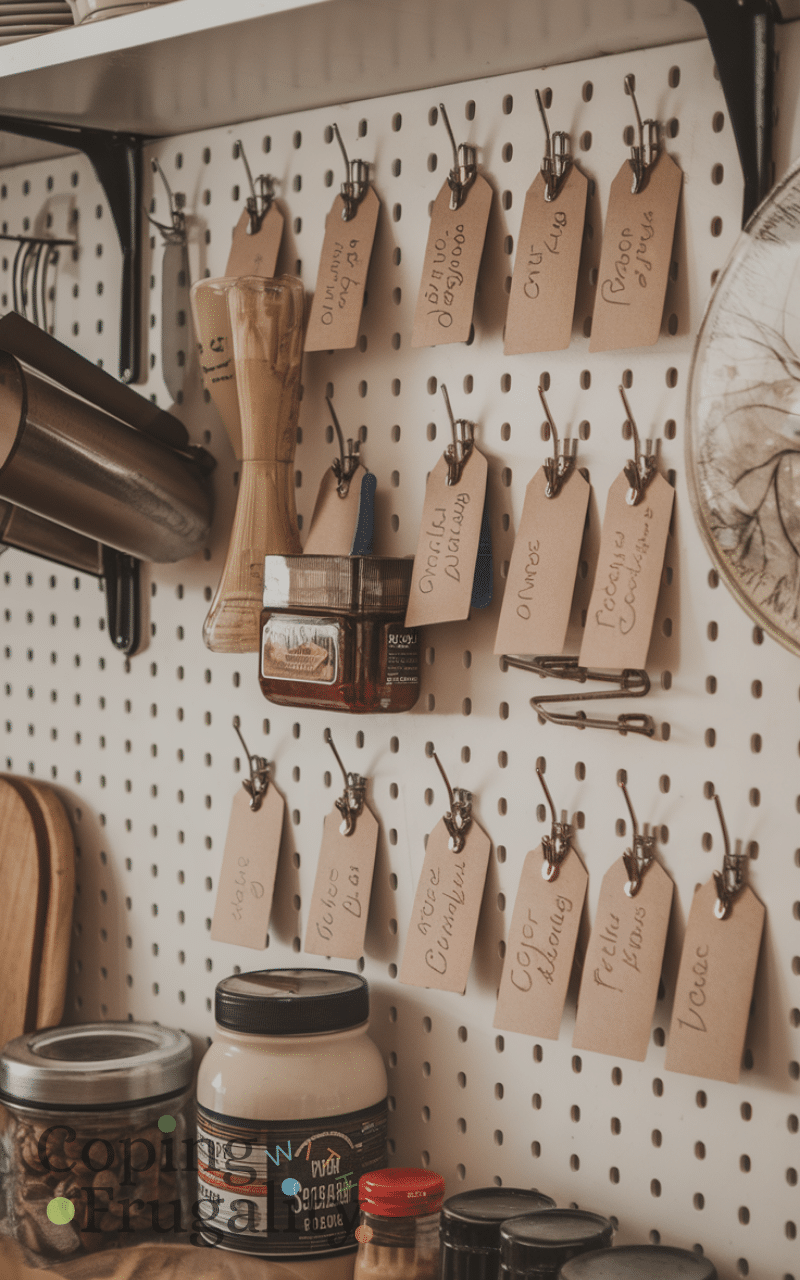
Pegboards aren’t just for tools—they can make cute pantry labels too! Small tags can be clipped onto pegboard hooks to hold pantry essentials in clear view. This approach works brilliantly as DIY pantry labels on a budget because you can use scraps of cardboard or leftover craft materials. It’s functional and keeps things off the countertop while adding a touch of creativity. You can easily update the labels whenever needed, making it a flexible and affordable solution for keeping your pantry organized.
Setting up pegboard tags can range from $20–$50 depending on the size of your board, but once it’s up, it’s incredibly flexible. I like using leftover cardboard for tags instead of buying pre-made ones. If you’re on a tight budget, start small with one section instead of covering a whole wall. In my opinion, this works best if you’re visual and like seeing everything at once. The mistake I made early on was overcrowding the board, which defeats the purpose of easy visibility.
11. Binder Clips Labels
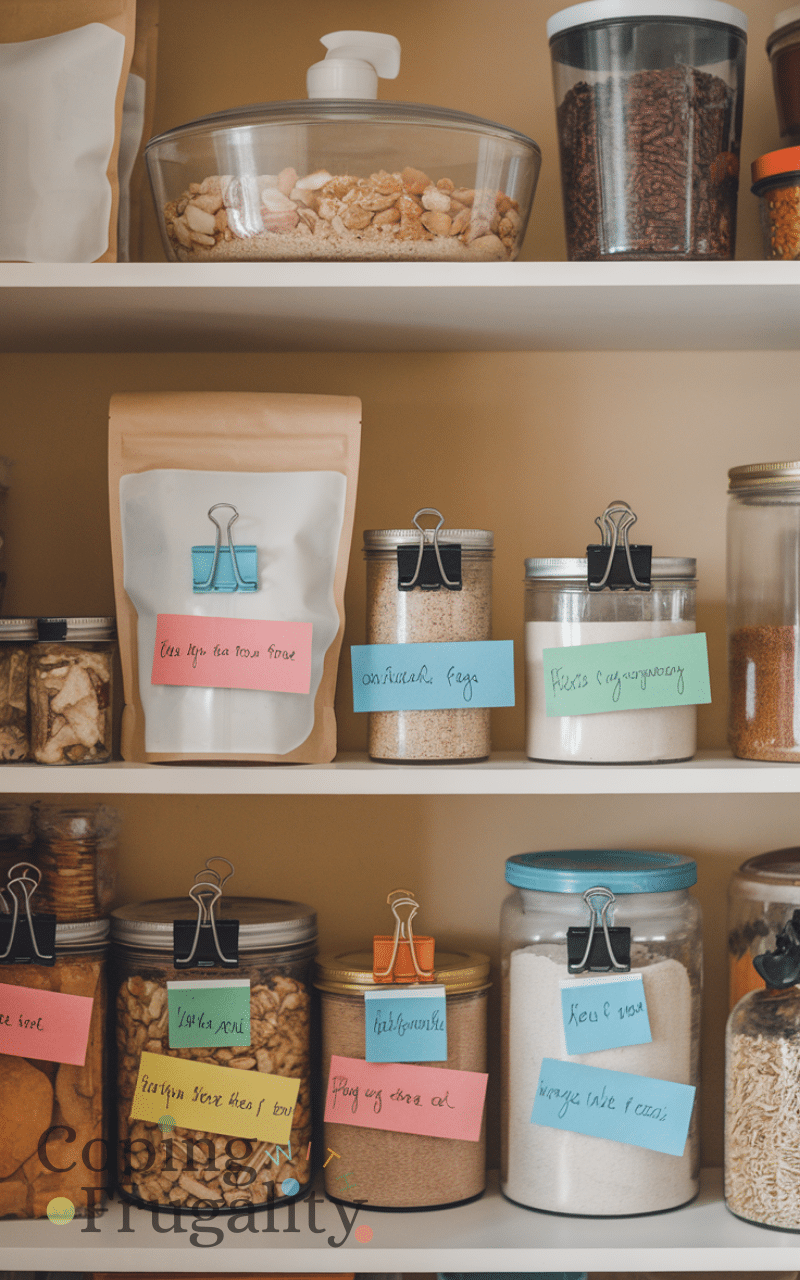
Binder clips aren’t just for paperwork—they make quirky and practical pantry labels. Attach a small label to the clip and clip it to a bag, jar, or container. This method is perfect for DIY pantry labels on a budget because binder clips are cheap and reusable. They also allow you to quickly move labels around when you reorganize your pantry. Using colorful or decorative clips can even give your kitchen a playful aesthetic while keeping everything clear and easy to find.
Binder clips cost maybe $5–$12 for a large pack, and I use them for everything, not just the pantry. To save even more, I reuse clips from paperwork instead of buying decorative ones. I personally love this method for snack bags and bulk items that change often. If you want it to look cohesive, stick to one clip color instead of mixing neon and metallic randomly. The biggest mistake? Attaching labels that are too heavy—they’ll slide right off lightweight bags.
10. Sticker Doodles
Hand-drawn stickers are a fun, creative way to label your pantry. Grab blank sticker sheets and draw simple illustrations or write ingredient names with cute fonts. This makes DIY pantry labels on a budget not only practical but also highly personalized. It’s a perfect activity for getting kids involved in the kitchen too! Plus, stickers can be easily peeled off and replaced, so you can update your labels whenever your pantry changes. Creative sticker labels make your pantry lively, unique, and organized all at once.
Blank sticker sheets usually cost around $10–$18, and I can stretch one pack for months. I like drawing simple icons instead of overly detailed art—it saves time and ink if I’m printing outlines. If you’re budgeting carefully, share a pack with a friend and split the cost. Personally, I think this option is perfect if you want your pantry to feel warm and lived-in instead of showroom-perfect. Just don’t use low-quality adhesive sheets; I’ve had labels peel within weeks, and it’s frustrating.
9. Fabric Labels
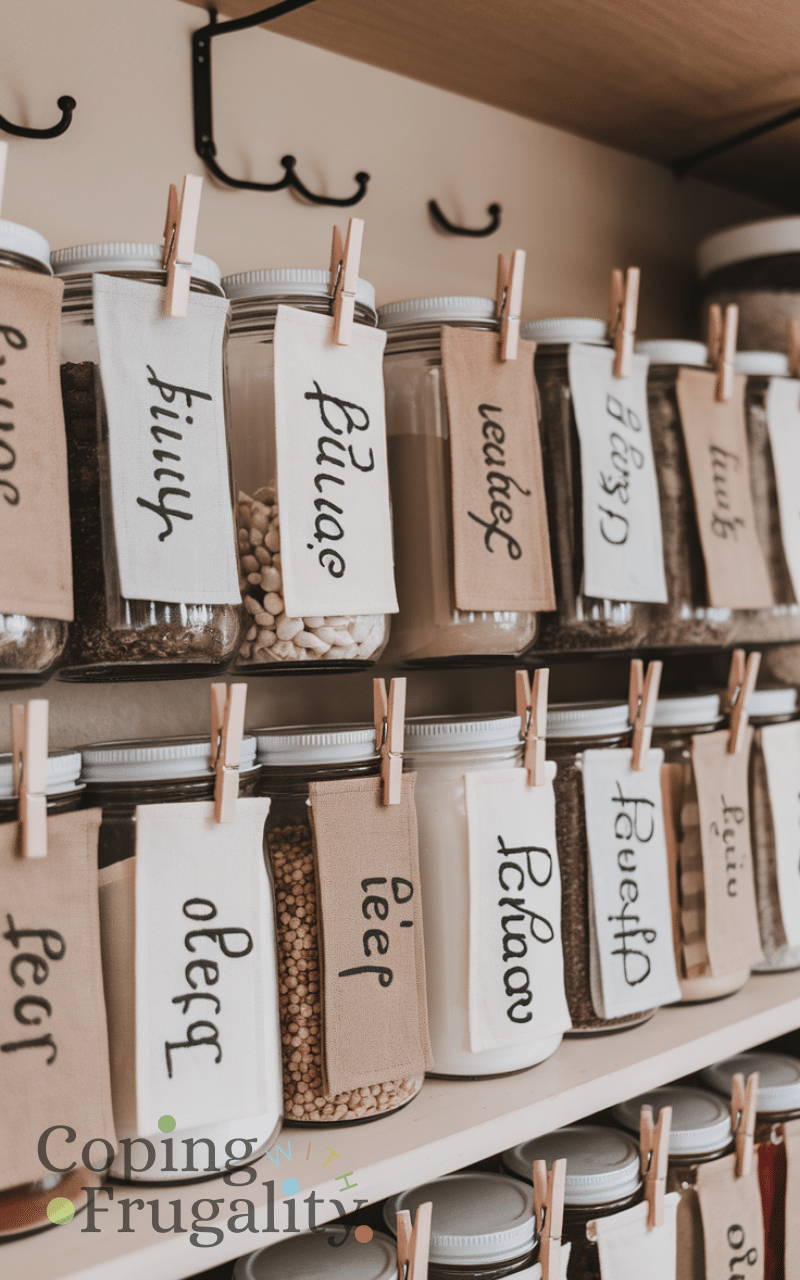
Small pieces of fabric can double as stylish pantry labels. Cut rectangles, write the ingredient with a marker, and attach them with clothespins or sew them onto containers. Fabric labels are a charming choice for DIY pantry labels on a budget because they’re reusable, washable, and give a cozy touch to your kitchen. You can even mix patterns and textures to match your kitchen decor. This option works especially well for dry goods stored in jars or baskets, adding both practicality and personality to your pantry.
Fabric scraps often cost me nothing because I reuse old linens or clothing, but even buying small cuts usually stays within $5–$15. I recommend washable fabric markers so you’re not remaking labels after one spill. To save money, I cut uniform strips using a simple cardboard template instead of buying measuring tools. In my opinion, this style works beautifully in farmhouse or cozy kitchens. The mistake people make is using thick fabric that doesn’t sit flat against jars.
8. Painted Wooden Tags
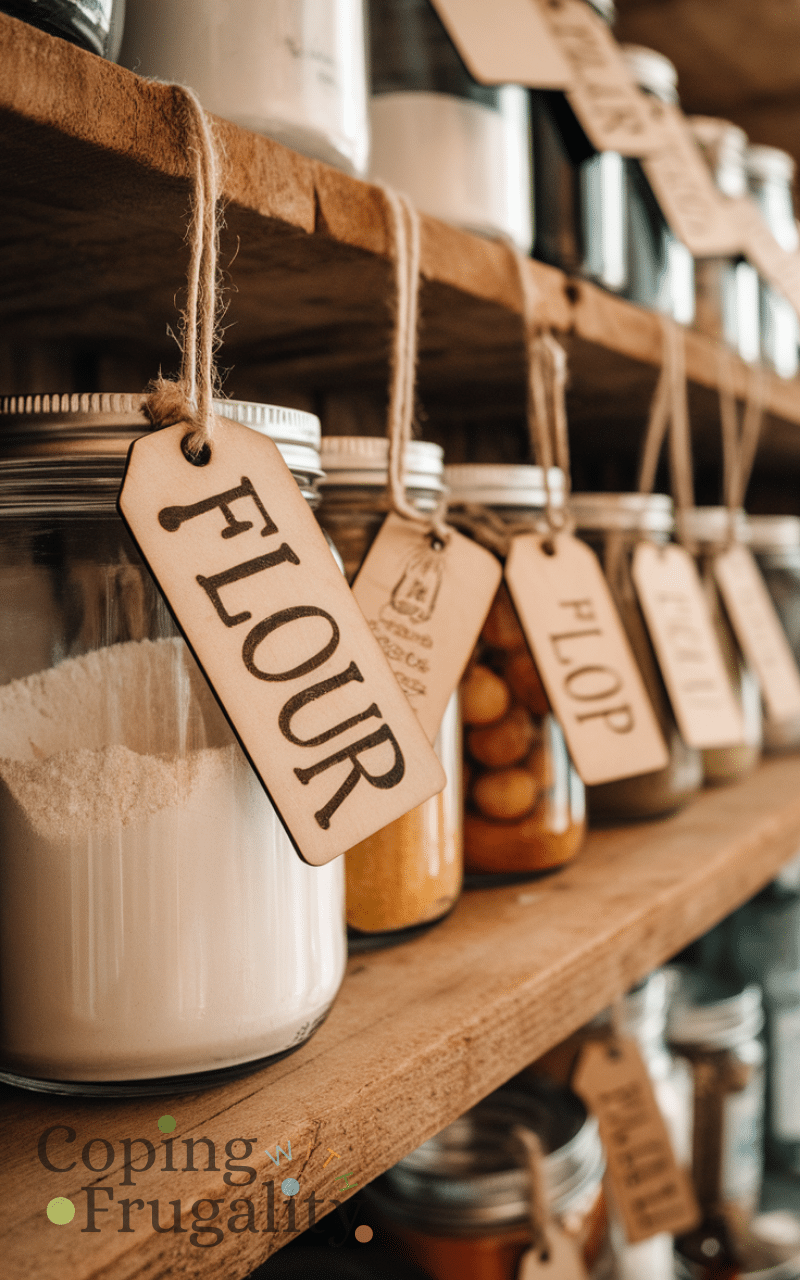
Wooden tags are simple, and painting them adds flair. You can use leftover paint to create small labels, then write the ingredient names on top. Wooden tags are ideal for DIY pantry labels on a budget because they are cheap, durable, and look classy in any kitchen style. A coat of varnish will make them last longer. These tags can be tied with twine or clipped onto containers, giving your pantry a neat, rustic, and artistic touch that’s easy to update whenever needed.
Wooden tags and leftover paint typically run about $10–$25 total, depending on quantity. I always use leftover wall paint samples instead of buying new craft paint. A light sanding before painting makes a huge difference and saves you from needing multiple coats. Personally, I think matte finishes look far more elegant than glossy ones in a pantry. The biggest mistake I see is skipping a sealant—without it, humidity can warp the wood over time.
7. Magnetic Labels
Magnetic labels are perfect for metal containers or tins. Simply stick small magnets onto label strips and write the ingredient names. DIY pantry labels on a budget have never been so simple with this method, and it keeps your pantry looking modern and neat. Magnets allow for repositioning and updating labels without any hassle. This idea is great for those who like a sleek, minimalistic pantry, and you can even color-code magnets to instantly identify categories of ingredients.
Magnetic strips and label paper usually cost between $12–$30, but they last a long time. I save money by buying one roll of magnetic tape and cutting it to size instead of purchasing pre-made magnets. In my experience, these are ideal if you use metal tins or a fridge-side storage system. I strongly recommend keeping the design minimal so it doesn’t look cluttered. A common mistake is using weak magnets that slide down heavier containers.
6. Clip-on Chalk Tags

Clip-on chalk tags are affordable and reusable. Attach the tag to a jar or container, then write with a chalk marker. These tags are perfect for DIY pantry labels on a budget because you can update them whenever you run out or change ingredients. They work on glass, plastic, and even metal surfaces. Plus, they add a fun, interactive element to your kitchen organization. With a variety of shapes and sizes, clip-on chalk tags make your pantry stylish, tidy, and practical all at once.
Clip-on chalk tags usually fall in the $10–$25 range for a reusable set. I’ve found that buying them in bulk once is cheaper than replacing cheap versions repeatedly. To stretch your budget, reserve them for items that change frequently instead of labeling every single jar. I personally love the flexibility—they make pantry updates painless. The mistake I made early on was not fully erasing old chalk before rewriting, which made everything look messy fast.
5. Upcycled Jar Lids
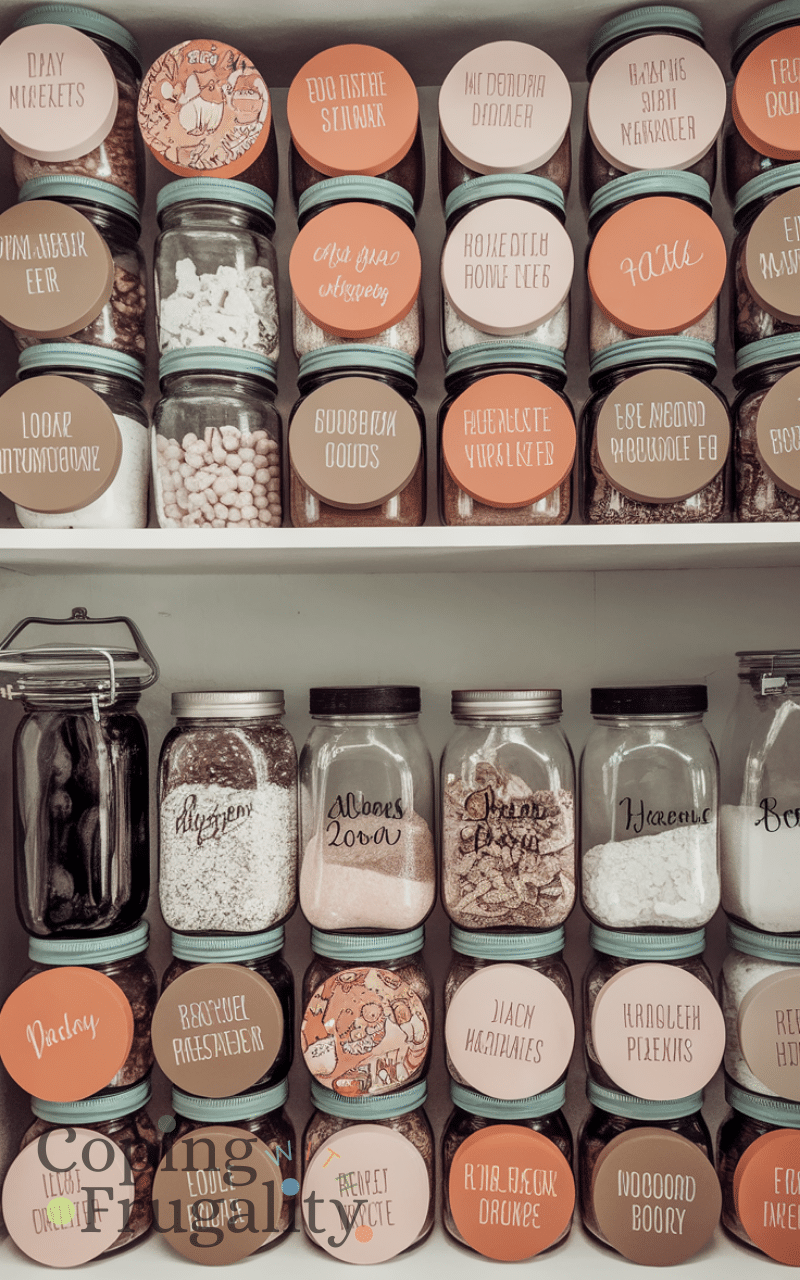
Turn old jar lids into labels by painting or writing the contents directly on them. DIY pantry labels on a budget have never been more creative! You can stick or attach the lids to containers using glue or magnets. This method recycles what you already have while giving your pantry a charming and unique vibe. Plus, using colorful lids or different shapes adds a playful element. It’s a sustainable, inexpensive way to keep your pantry organized while giving a second life to unused jar lids.
This one can cost almost nothing if you already have spare lids, though paint and glue might bring it to $5–$15. I save by using leftover craft supplies instead of buying anything new specifically for this project. In my opinion, this is one of the most sustainable labeling methods out there. I recommend keeping the designs simple so they don’t overpower the containers. The biggest mistake is using glue that isn’t heat-resistant—it can loosen in warmer kitchens.
4. Embellished Paper Clips
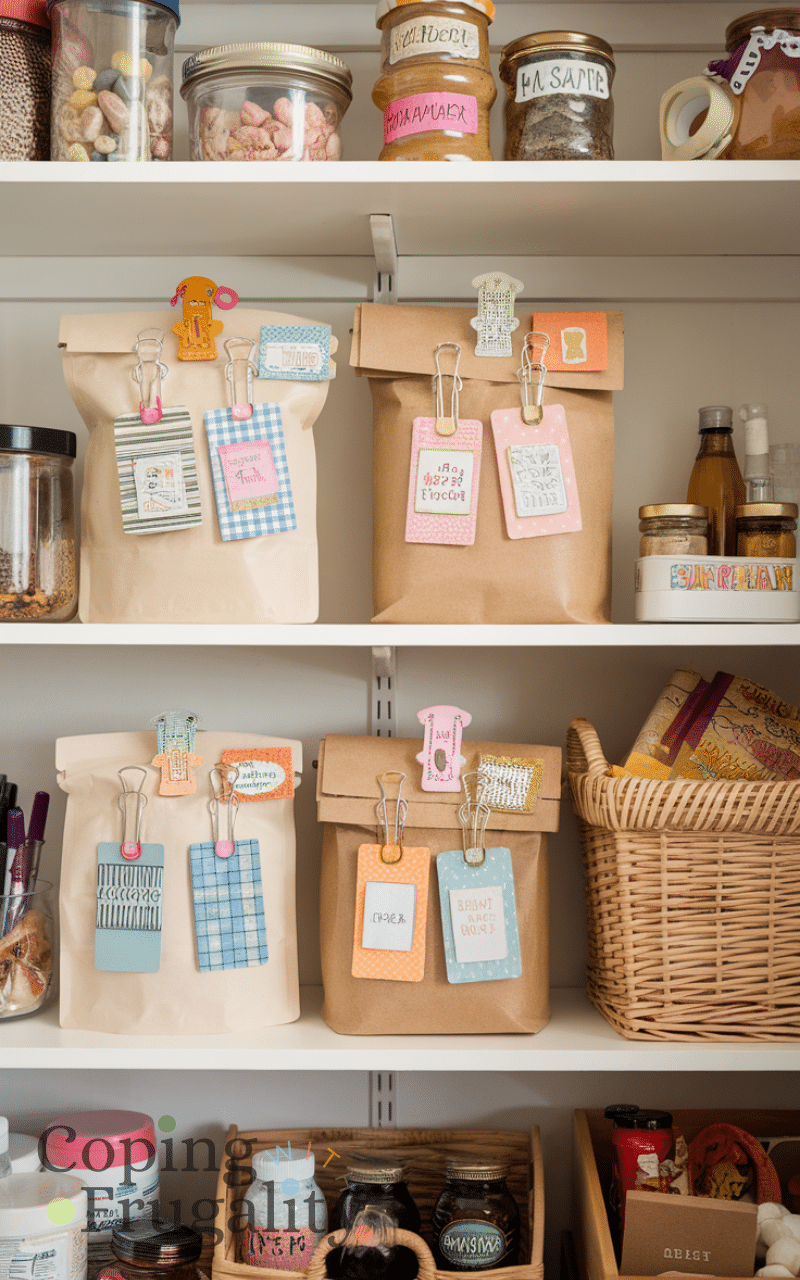
Paper clips can be transformed into quirky pantry labels with small paper tags or card stock attached. This is a brilliant way for DIY pantry labels on a budget because it’s cheap, easy, and reusable. You can decorate the tags with markers or washi tape to add a playful touch. Simply clip them onto bags, jars, or baskets to quickly identify contents. Embellished paper clips make your pantry fun, accessible, and organized, while letting you show off a little DIY creativity on a budget.
A pack of oversized paper clips costs around $6–$15, and I get endless use out of them. I like attaching small cardstock pieces cut from packaging I already have—it’s practically free. If you want to save even more, skip heavy embellishments and stick to simple tags. Personally, I think this works best for baskets rather than glass jars. The mistake people often make is overdecorating, which makes labels bulky and awkward.
3. Bottle Neck Tags

Tags that hang around the neck of bottles or jars are simple and elegant. Using cardstock and twine, you can create unique labels that are easy to remove and change. DIY pantry labels on a budget work perfectly this way because you only need minimal supplies. You can even write in different colors or add small illustrations. These hanging tags are ideal for oils, sauces, or any bottled pantry items. They keep your pantry tidy and add a personal, handmade touch to your kitchen.
Cardstock and twine together usually cost $5–$12, making this one of my favorite budget-friendly choices. I cut multiple tags at once assembly-line style so I’m not wasting time or material. To save money, I reuse twine from packaging instead of buying decorative cord. I personally think these look especially nice on oils and homemade sauces. The main mistake is making the hole too large, which causes the tag to slide awkwardly.
2. Embossed Labels
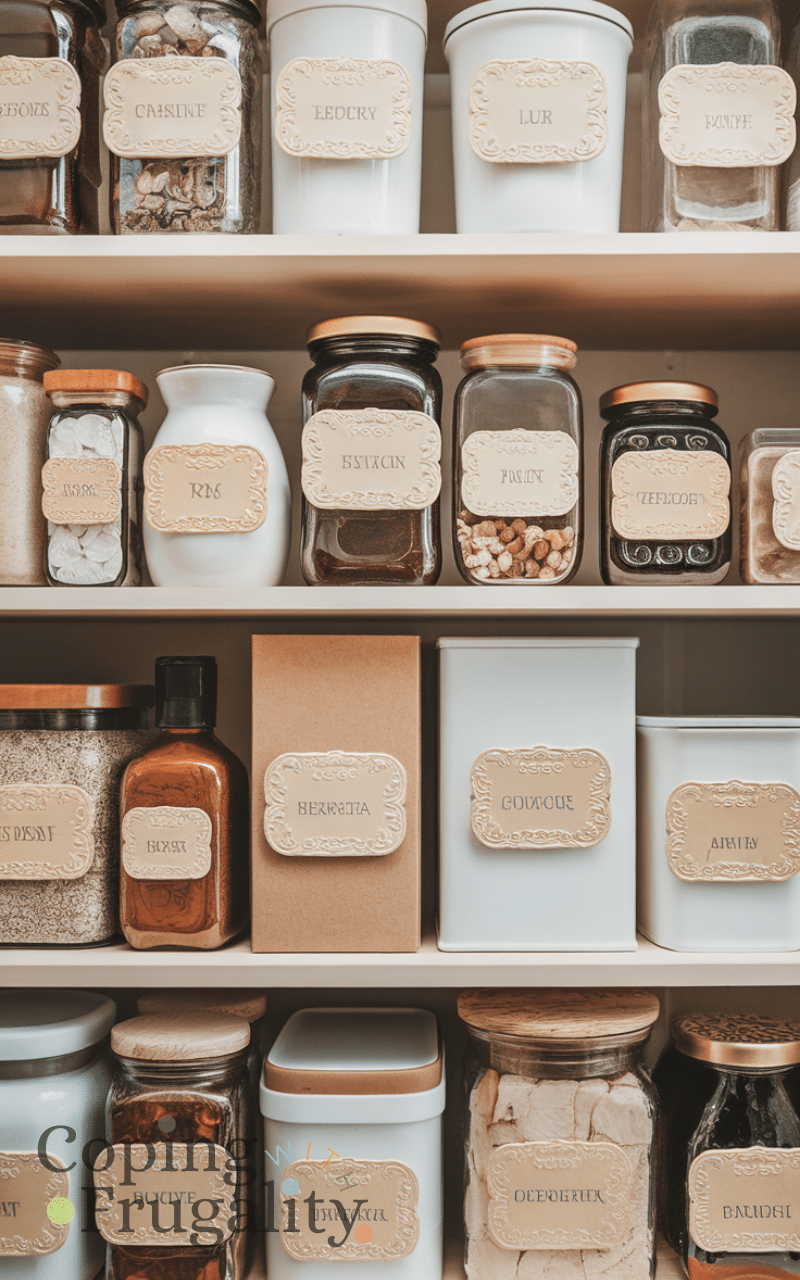
Embossed labels bring a classy touch to your pantry. Using a simple embossing tool or machine, you can create raised lettering on paper or adhesive labels. DIY pantry labels on a budget can look expensive without costing a fortune. They are durable, stylish, and easy to read, giving your kitchen a professional, organized appearance. Embossed labels work great on jars, boxes, or containers, adding texture and elegance while keeping everything in your pantry perfectly labeled.
A basic embossing label maker can range from $20–$40 upfront, but refills are inexpensive and last a long time. I bought mine once and have used it for years across the whole house. To stretch the budget, start by labeling only high-use staples instead of everything at once. In my opinion, embossed labels give the cleanest, most timeless look of all these options. The mistake I see is choosing overly bold tape colors that clash with your containers.
1. Freehand Marker Labels
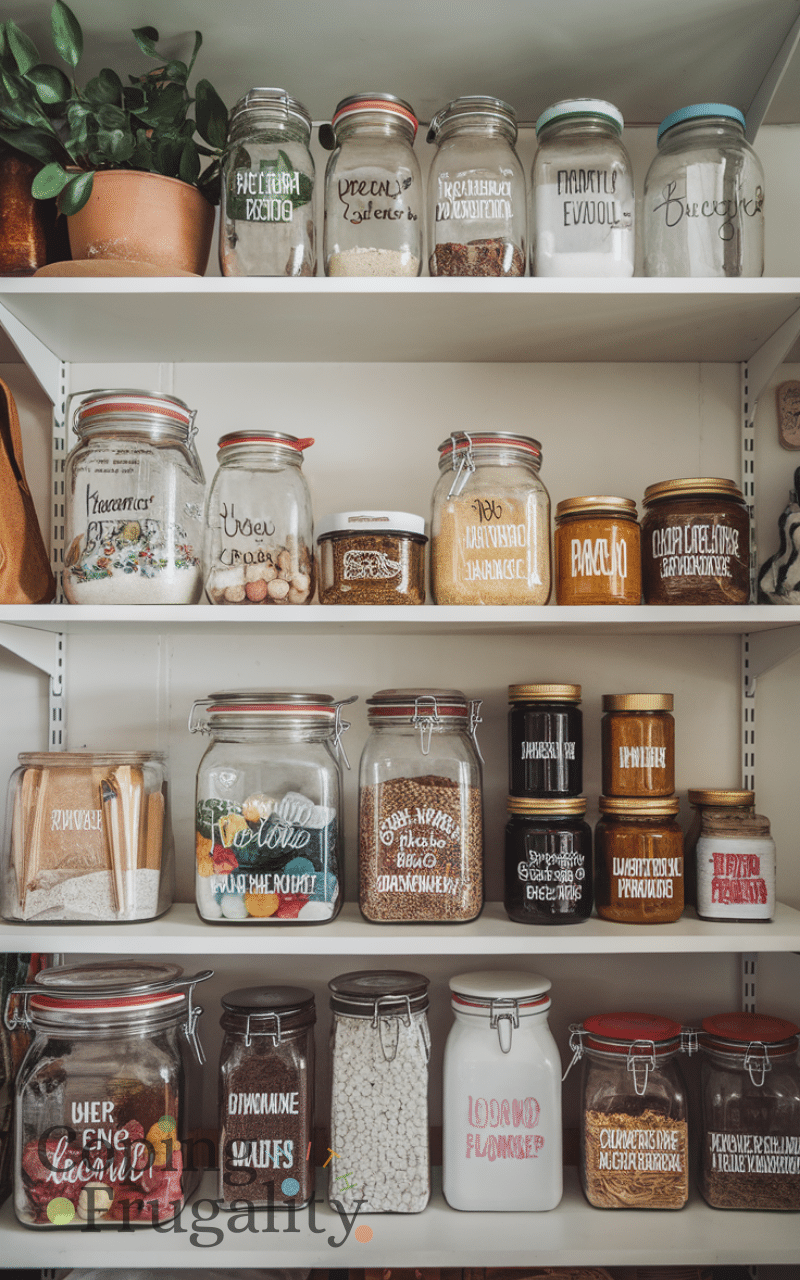
Sometimes, the simplest option is the best! Grab a permanent or whiteboard marker and write directly on jars, containers, or even the shelves. Freehand marker labels are a top choice for DIY pantry labels on a budget because they require zero extra supplies and are fully customizable. You can doodle, add small decorations, or color-code ingredients with different markers. This easy, no-fuss solution keeps your pantry organized, cost-effective, and stylish in its own handmade way.
This option truly costs $0–$10 if you already own a permanent marker. I love that there’s no setup, no printing, and no waiting—just write and move on. To save money, I use removable glass markers on containers that change often. Personally, I think slightly imperfect handwriting adds character and keeps the pantry from feeling sterile. The biggest mistake is using permanent ink on containers you plan to reuse differently later—always test first.
Conclusion
DIY pantry labels on a budget don’t have to be expensive or complicated. From chalkboard stickers to freehand markers, there are countless creative ways to organize your kitchen affordably while adding charm and style. Experiment with different ideas to find what fits your pantry best, and you’ll have a neat, fun, and personalized kitchen in no time. Don’t forget to subscribe to my blog for more DIY pantry labels on a budget tips, tricks, and inspiration to make your home beautifully organized every day!