Everything can be done with budget
Best & Easy DIY Hallway Signs on a Budget You’ll Love
DIY Hallway Signs are one of those small details that make a home feel thoughtful and welcoming without trying too hard. Clear numbers, simple materials, and a design that actually makes sense in real life matter more than people realize. When deliveries show up easily, and guests don’t hesitate at the door, you know you did something right.
I love projects like DIY Hallway Signs because they balance style and function. Raised numbers, good contrast, and proper lighting make a huge difference, especially at night. It’s the same mindset I use when decorating seasonally, like with DIY Wall Art Winter, where the goal is warmth, clarity, and comfort instead of overdoing it.
These are the kinds of details that quietly improve everyday life. They don’t scream for attention, but they work. And honestly, when even delivery drivers appreciate your setup, that’s a win in my book.
Why you need to choose these DIY Hallway Signs
Creating DIY hallway signs is more than just a decorative project—it’s a way to personalize your home and make it feel welcoming from the moment someone steps inside. I’ve always loved how a simple sign can set the tone for a space, whether it’s playful, elegant, or cozy. By choosing this idea, you get the chance to express your style, experiment with colors and fonts, and even add meaningful messages that resonate with your family and guests. It’s also a budget-friendly way to upgrade your hallway without major renovations, letting you transform a plain corridor into a space that tells a story.
Beyond aesthetics, DIY hallway signs allow you to get creative and enjoy the satisfaction of making something with your own hands. I find that working on these projects can be therapeutic, a small escape from daily routines, and a way to involve kids or friends in a fun, collaborative activity. Whether you want to guide people through your home, display motivational quotes, or highlight family names, these signs give a charming, personal touch that ready-made décor often lacks.
Some helpful tips to consider
Before diving into a DIY hallway sign project, it helps to plan carefully to get the best results. I always start by considering the size and layout of my hallway—too large a sign can overwhelm the space, while a smaller one might go unnoticed. Choosing the right materials is equally important; wood, canvas, or even recycled materials can all work beautifully depending on the look you want to achieve. I also recommend selecting colors and fonts that complement your existing décor while still standing out enough to catch the eye.
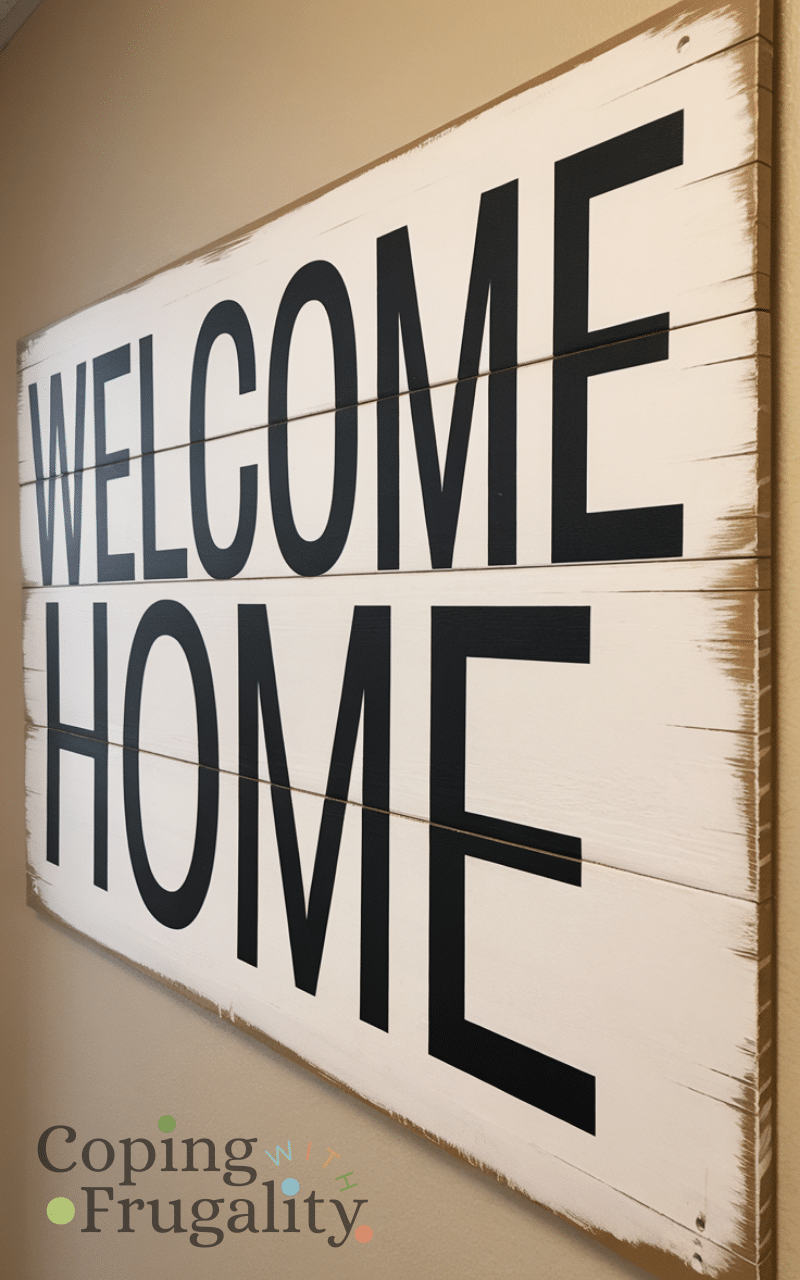
16. Reclaimed Wood Welcome Sign
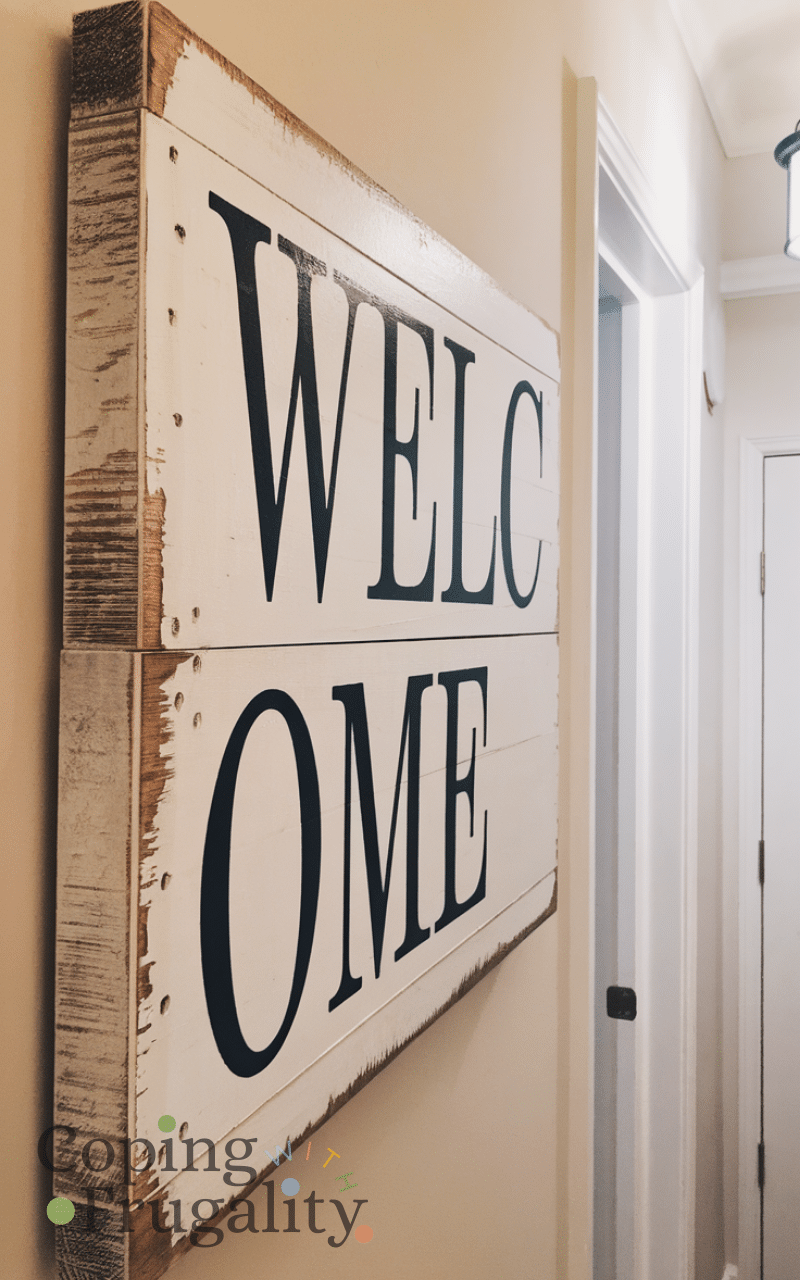
Using leftover or reclaimed wood is one of the easiest DIY hallway signs on a budget you can make. A simple “Welcome” painted or stenciled onto wood instantly adds warmth. You can sand the edges for a rustic look or leave it raw for farmhouse vibes. This project costs almost nothing if you already have scrap wood, and acrylic paint works perfectly. Hang it with twine or command hooks to avoid drilling. It’s simple, charming, and ideal for narrow hallways.
I made a reclaimed wood “Welcome” sign last year for under $5 using scraps I already had. To save, I always check construction sites or local marketplaces for free wood pieces—they’re often discarded but perfect for projects. I love leaving the edges rough for that farmhouse vibe; it feels authentic and cozy. One mistake people make is using untreated wood outdoors or in damp areas, which can warp over time. Even simple twine for hanging adds charm, and this sign instantly makes our entry feel intentional and inviting.
15. Printable Quote Frame
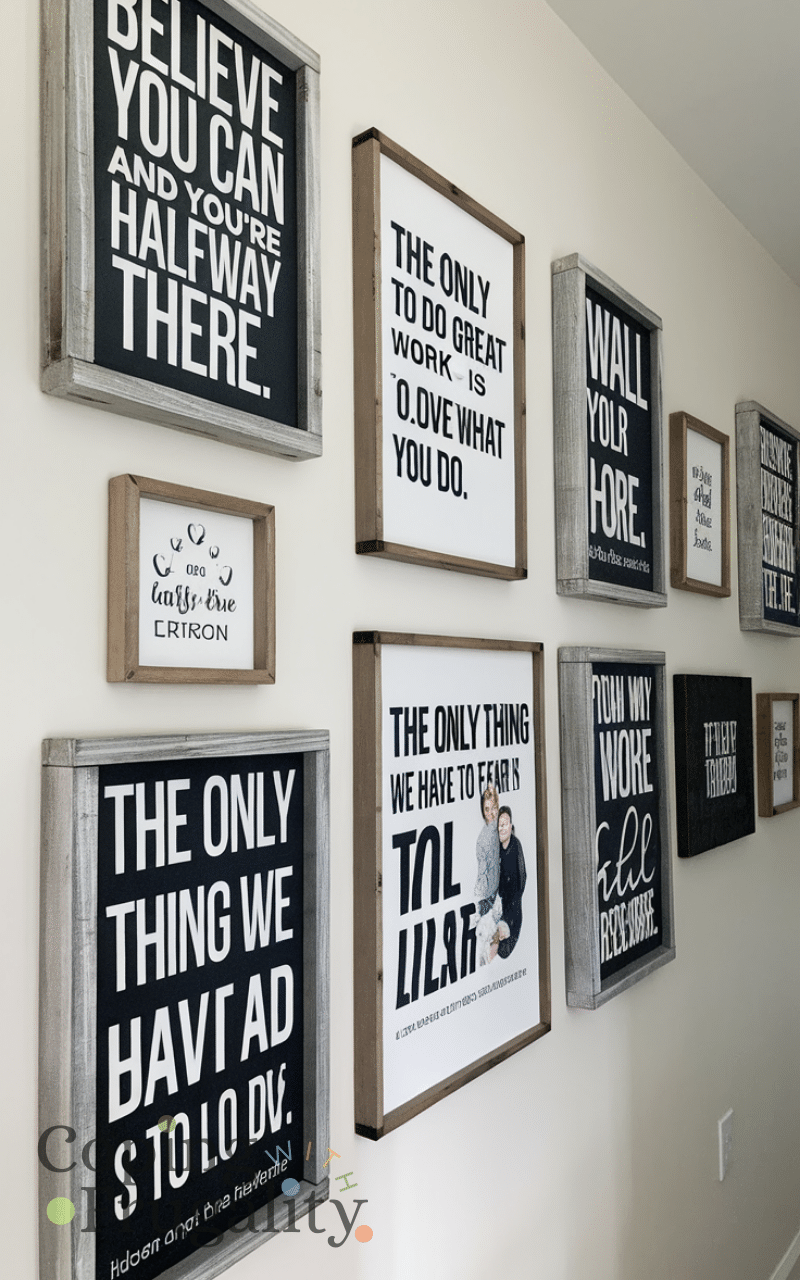
Printable quotes are a lifesaver when creating DIY hallway signs on a budget. You can find free or low-cost designs online, print them at home, and place them in thrifted frames. Choose motivational quotes or family sayings to personalize your space. Black-and-white prints look elegant and save on ink. This idea is great if you like to switch décor often because you can change the print anytime without extra cost.
Printing motivational quotes at home costs me less than $1 per page, and thrifted frames keep the project under $5. My money-saving tip: rotate the quotes seasonally using the same frames—it refreshes the look without extra spending. I recommend choosing classic fonts and high-contrast colors; it keeps the wall polished yet simple. A mistake I often see is overcrowding the frame with graphics—the words are the star. For me, this is a quick, low-stress way to personalize a hallway on a tight budget.
14. Chalkboard Direction Sign
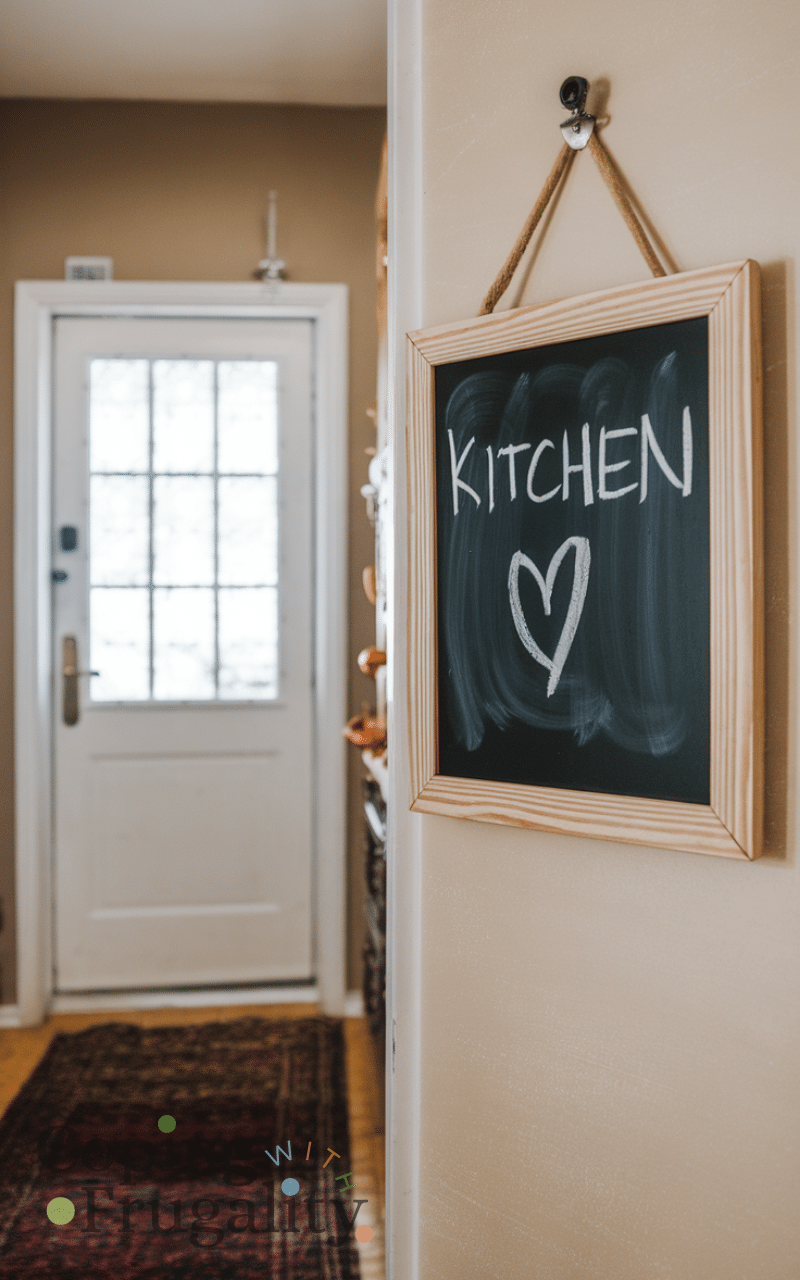
A small chalkboard is perfect for fun and flexible DIY hallway signs on a budget. Write directions like “Kitchen →” or “Living Room ←” for a playful touch. Chalkboards are inexpensive and easy to customize seasonally. You can even make your own using chalkboard paint on cardboard or wood. This sign adds personality while being practical, especially for guests.
I bought a small chalkboard for $5 and it’s been a fun, flexible addition to our hallway. One way to save money is to paint a scrap of wood or cardboard with chalkboard paint—cheap and just as effective. I love changing the directions and messages for holidays; it keeps guests engaged and makes the space feel lively. A common error is using chalk that smudges too easily—fixing it with a light spray of hairspray keeps it intact longer. This sign combines playfulness with practical guidance, which I adore.
13. Cardboard Cut-Out Words
Cardboard is often overlooked, but it’s excellent for DIY hallway signs on a budget. Cut words like “Home” or “Family,” paint them, and mount them directly on the wall. Once painted, cardboard can look surprisingly high-end. This project is lightweight, renter-friendly, and costs almost nothing. It’s perfect if you want large signage without buying expensive wall art.
I once cut “Family” from cardboard and painted it for under $2; it looked surprisingly high-end. A tip to save: use cereal boxes or shipping boxes instead of buying thick cardboard. I recommend keeping the paint simple and clean—it’s more elegant than overdecorating. People often attach cardboard too loosely, and it can warp or fall; a little double-sided tape or light nails solves that. This project is lightweight, renter-friendly, and makes a hallway feel intentional with almost no cost.
12. Minimalist Number Sign
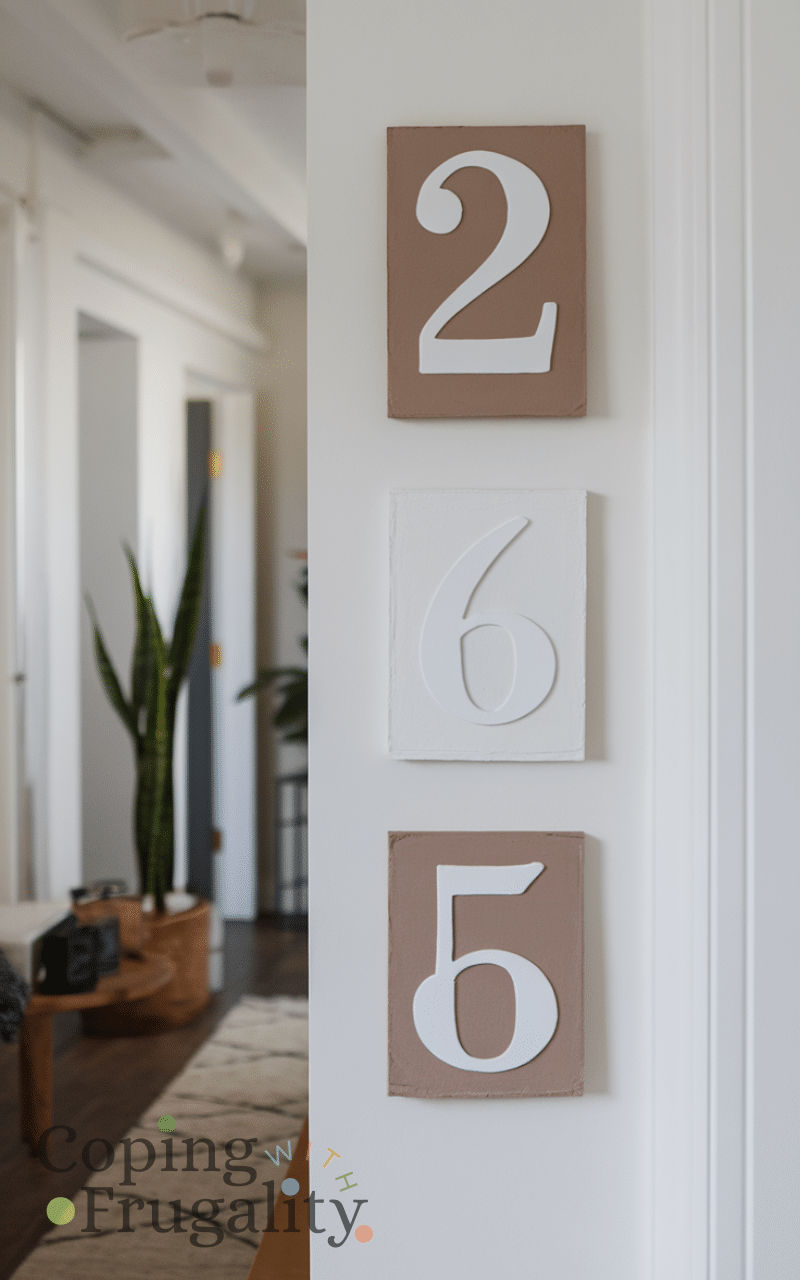
House numbers or simple symbols make stylish DIY hallway signs on a budget. Use foam board or thick paper to create numbers, then paint them in neutral tones. Mount them in a vertical layout for a modern hallway look. This idea works especially well in apartments or contemporary homes. Clean, simple, and very affordable.
Creating minimalist number signs cost me around $3 per sign using foam board and paint. To save, I cut numbers from leftover packaging instead of buying foam sheets. I like using neutral colors—they’re timeless and work in any hallway. A common mistake is making the numbers too big for the space; proportion is key for visual balance. Even simple numeric signage instantly elevates the hallway with minimal effort.
11. Fabric Wall Banner
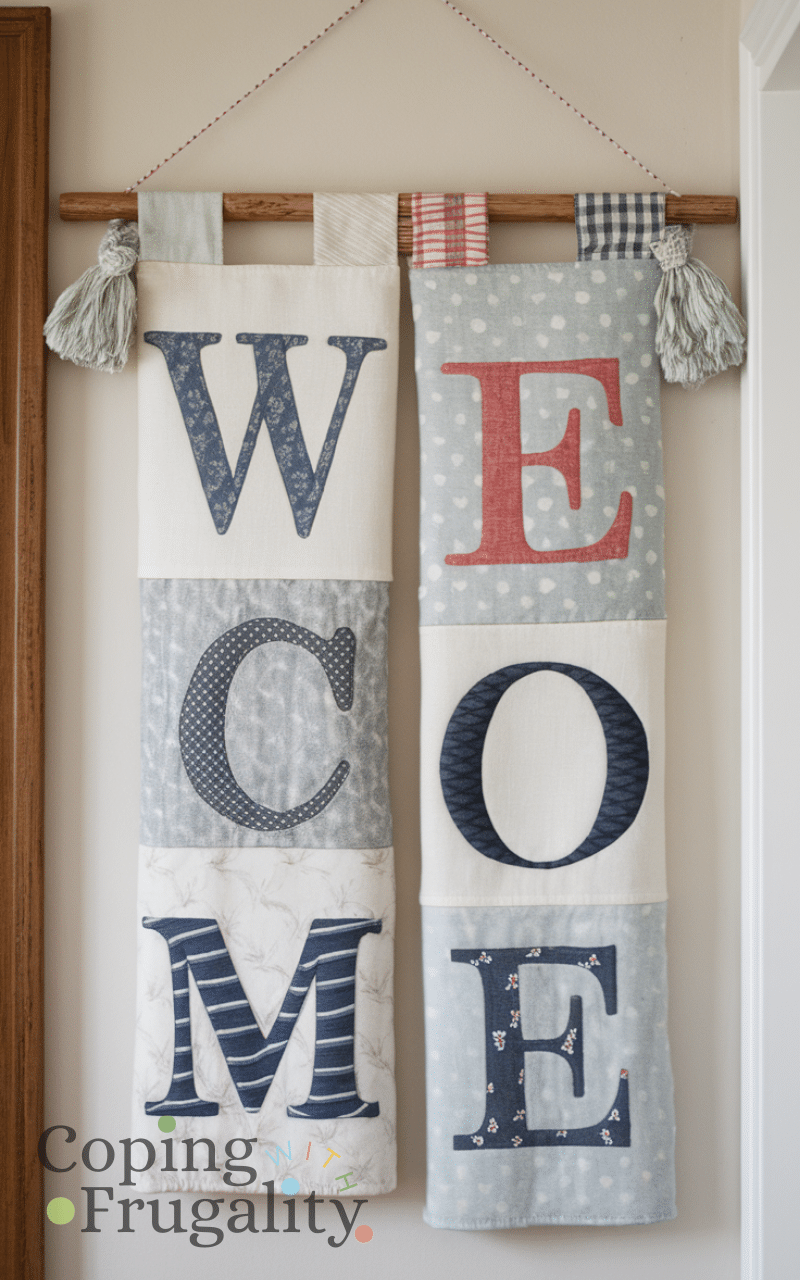
Fabric banners are cozy and soft, making them unique DIY hallway signs on a budget. Use scrap fabric or old pillowcases, paint words with fabric paint, and hang using a wooden dowel. This adds texture to your hallway and softens the space visually. It’s a great way to reuse fabric while creating something truly custom.
I crafted a fabric wall banner for $5–$10 using old pillowcases and fabric paint. One money-saving tip is to repurpose scrap fabrics instead of buying new. I love the soft texture it adds—it makes the hallway feel warmer and less rigid. People often forget to reinforce the top edge, which can sag over time. For me, this banner is an easy way to bring cozy, tactile interest to a small corridor.
10. Washi Tape Wall Message
Washi tape is cheap, removable, and perfect for DIY hallway signs on a budget. Use it to spell out words or create arrows directly on the wall. The best part is that it doesn’t damage paint, making it renter-friendly. You can experiment with patterns and colors without commitment. This idea is fun, creative, and super low-cost.
I spelled out “Welcome” with washi tape for under $5, and it was a total game-changer. My saving trick: reuse tape from past projects, it often still sticks perfectly. I recommend experimenting with simple arrows or shapes alongside letters—it makes the hallway feel playful. One mistake is pressing too hard on painted walls, which can lift the paint when removed. I love that it’s renter-friendly and completely temporary without looking cheap.
9. Framed Family Rules Sign
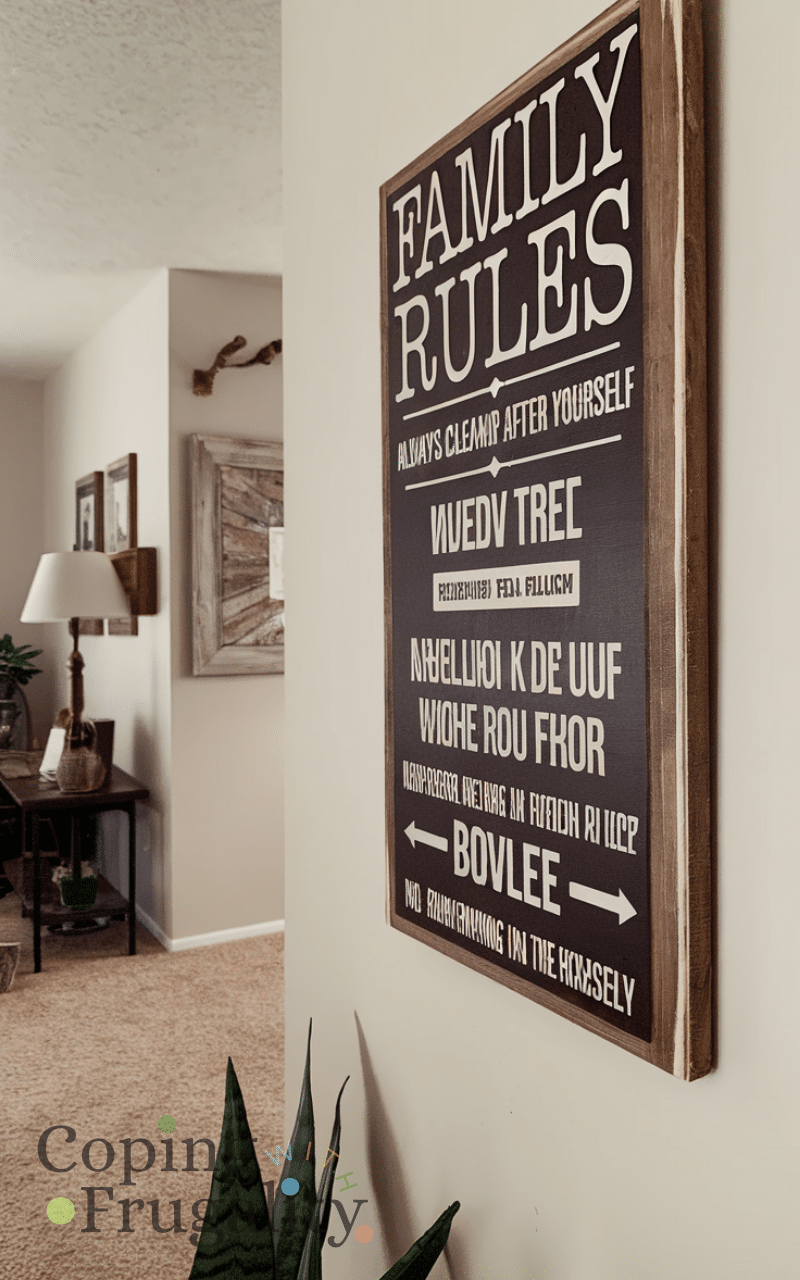
A “Family Rules” sign is a classic for DIY hallway signs on a budget. Design your own rules using free design tools, print them, and frame the result. Thrift stores often have frames for just a few coins. This sign adds personality and warmth while filling empty hallway walls beautifully.
I designed a “Family Rules” sign for less than $10, using a free online template and thrifted frames. To save even more, I used black-and-white printing instead of full-color—it looks sharp and classy. I personally recommend keeping rules short and readable; long paragraphs overwhelm the wall. People sometimes use frames that are too ornate—it distracts from the message. For me, this sign adds warmth and structure in a subtle, charming way.
8. Mirror Lettering Sign
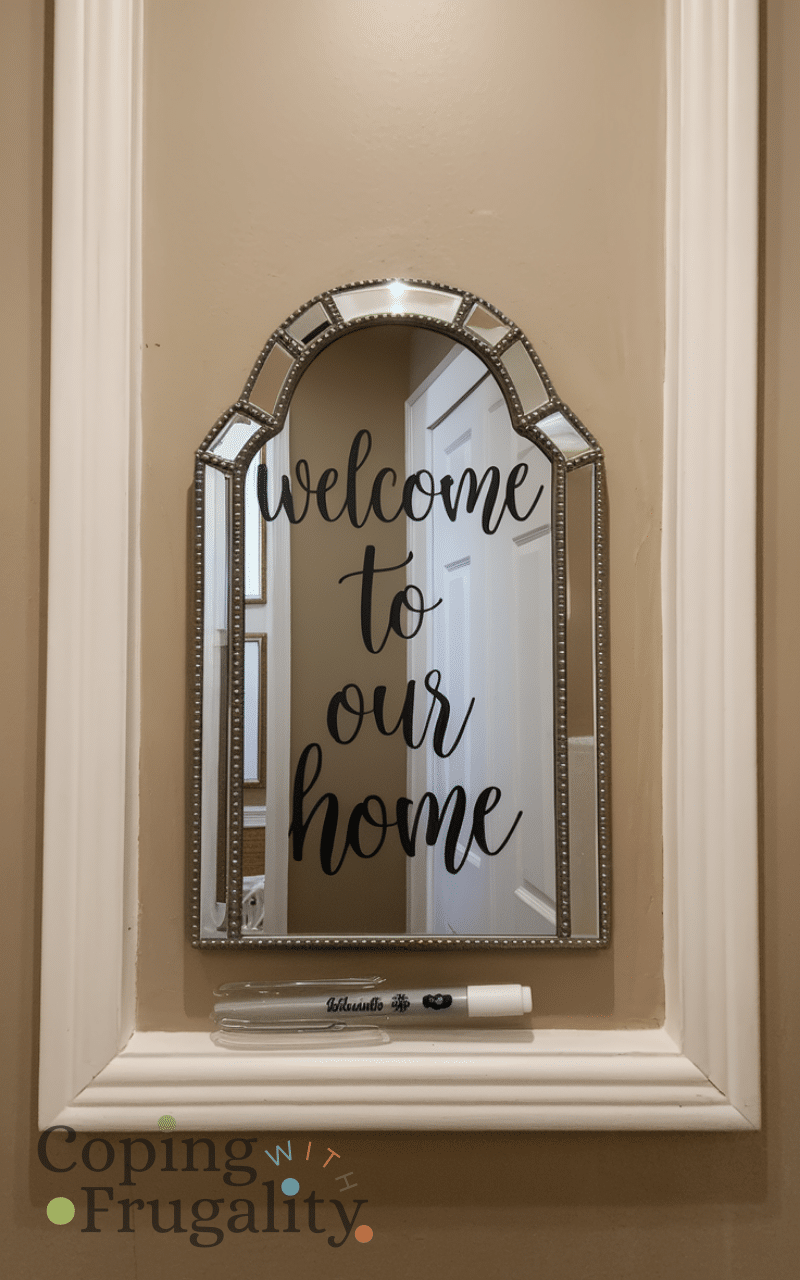
Mirrors can double as décor and signage in DIY hallway signs on a budget projects. Use glass markers or vinyl letters to write a short phrase on a small mirror. This reflects light and makes narrow hallways feel bigger. You can clean and redo the lettering anytime, which makes it both stylish and flexible.
I created a mirror message for $5–$8 using vinyl letters and a small mirror. My money-saving tip is to check dollar stores for mirrors—they’re often perfectly fine for DIY projects. I like writing a short phrase like “Hello” or “Welcome”—it feels modern yet cozy. A common error is overfilling the mirror with text; minimal words look best. I love how it reflects light and makes our narrow hallway feel brighter instantly.
7. Rustic Clipboard Sign
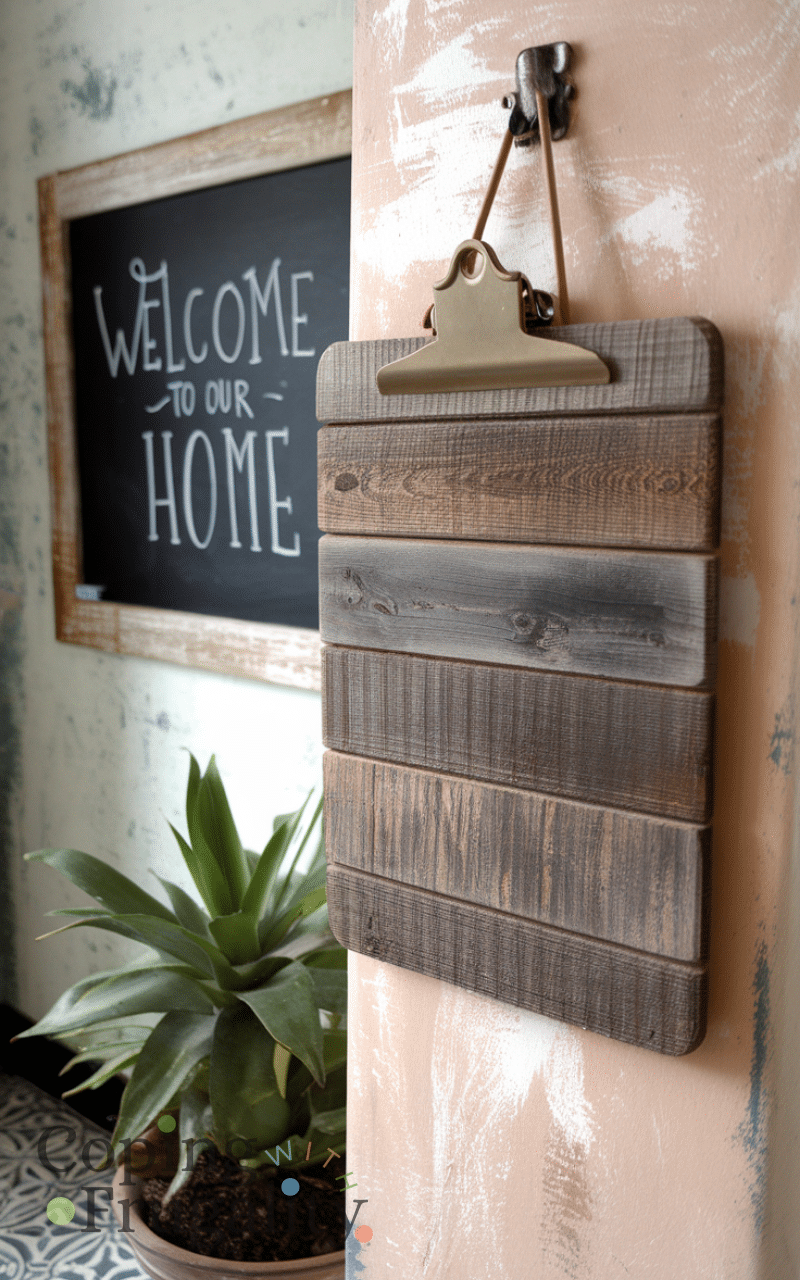
Clipboards are inexpensive and surprisingly versatile for DIY hallway signs on a budget. Attach a printable or handwritten message to a clipboard and hang it on the wall. You can swap the paper whenever you want, making it perfect for seasonal updates. This idea blends casual and rustic styles effortlessly.
I hung a clipboard with a printable message for under $5, and it’s so versatile. To save, I reuse clipboards from around the house instead of buying new ones. I recommend switching the paper monthly or seasonally—it keeps the hallway fresh. People sometimes hang clipboards too low or high; eye-level placement works best. This simple idea combines casual charm and function without any investment in expensive wall art.
6. Painted Canvas Word Art
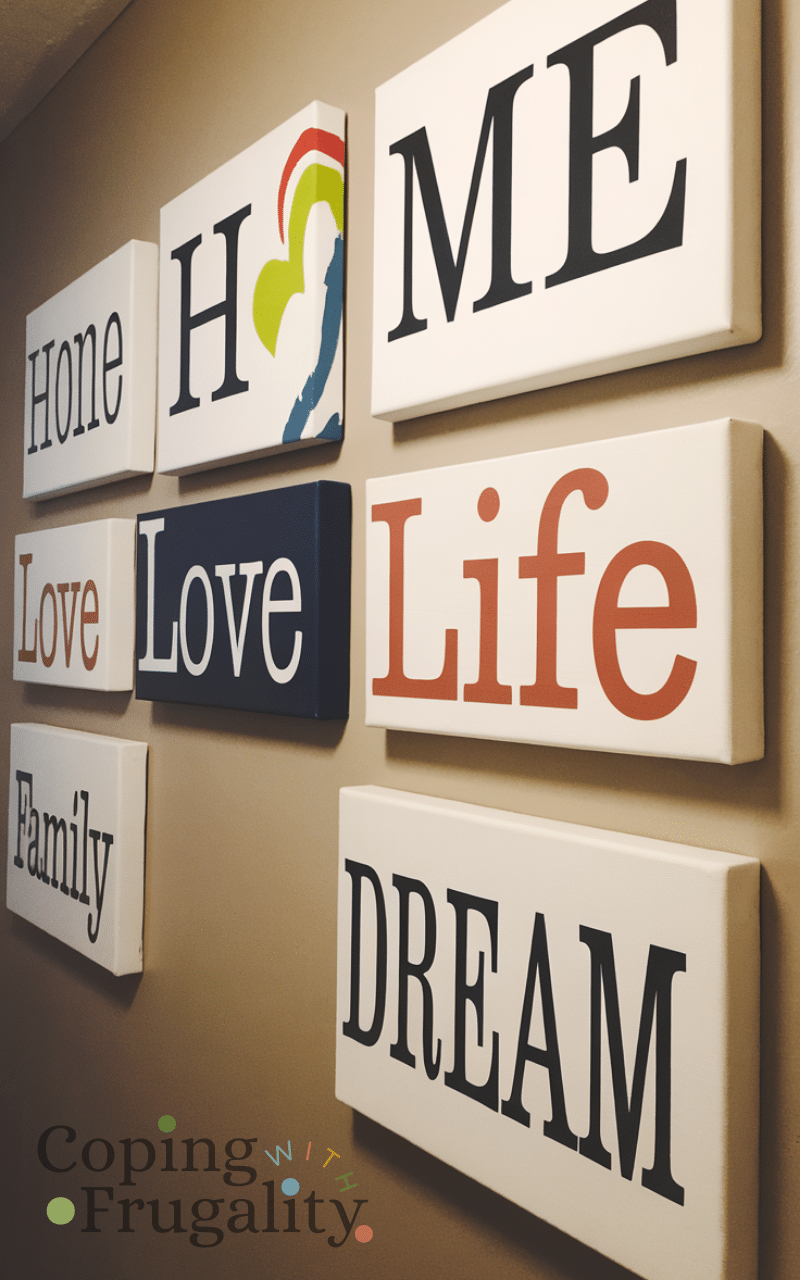
Blank canvases are cheap and easy to find, making them ideal for DIY hallway signs on a budget. Paint a solid background and add a single word or short phrase in contrasting color. Even simple lettering looks great on canvas. This is a perfect beginner DIY that still feels polished and intentional.
I painted a single word on a small canvas for $7, and it looked far more expensive than it was. To save money, I use leftover craft paint and small canvases. I recommend picking a bold word like “Joy” or “Home”—it makes a big statement with minimal effort. A common mistake is overcomplicating the background; simplicity is more striking. For me, this project gives a polished, intentional look to a hallway in under an hour.
5. Vintage Book Page Sign
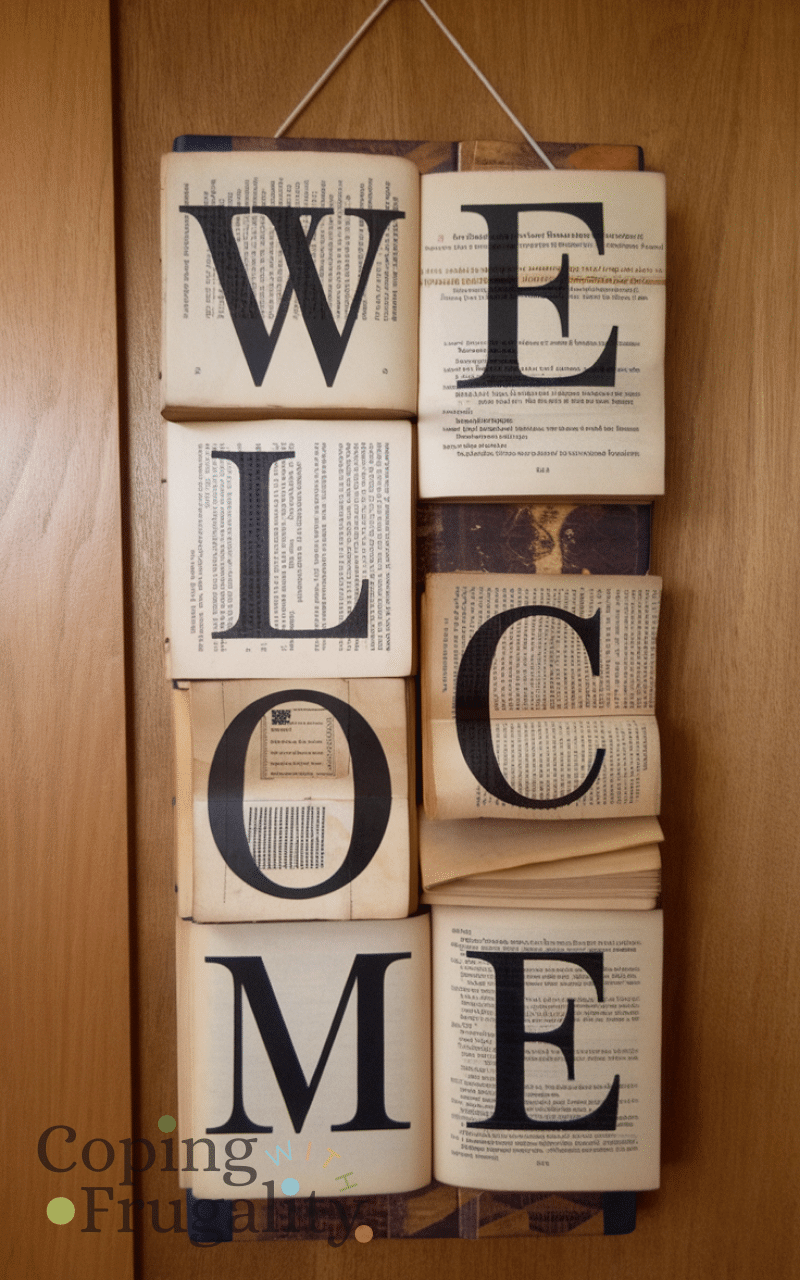
Old books or printed pages can be reused for DIY hallway signs on a budget. Glue pages onto cardboard or wood, then add a bold word on top. This creates a vintage, literary look that’s very trendy. It’s an eco-friendly idea that turns old paper into meaningful décor.
I reused pages from an old novel and added a bold word on top for $0–$5; it looks like a boutique display. To save, I use library discard books or thrifted copies. I recommend contrasting a single word in black ink—it pops against the text. People sometimes overcrowd the word with graphics; minimalism is key. I adore how this project is eco-friendly, artistic, and inexpensive all at once.
4. Photo & Word Combo Frame

Combine photos with text for personalized DIY hallway signs on a budget. Add a short word like “Memories” or “Family” above or below a photo inside a frame. This makes your hallway more personal without buying expensive custom art. It’s sentimental, simple, and budget-friendly.
I paired a family photo with a simple word for under $10, and it adds immediate warmth. To save, I print photos at home or reuse old frames. I recommend keeping text minimal—one word above or below a photo is enough. A mistake I see is mixing too many fonts or colors; consistency keeps it sophisticated. This combination feels personal, charming, and completely affordable.
3. Direction Arrow Wood Sign
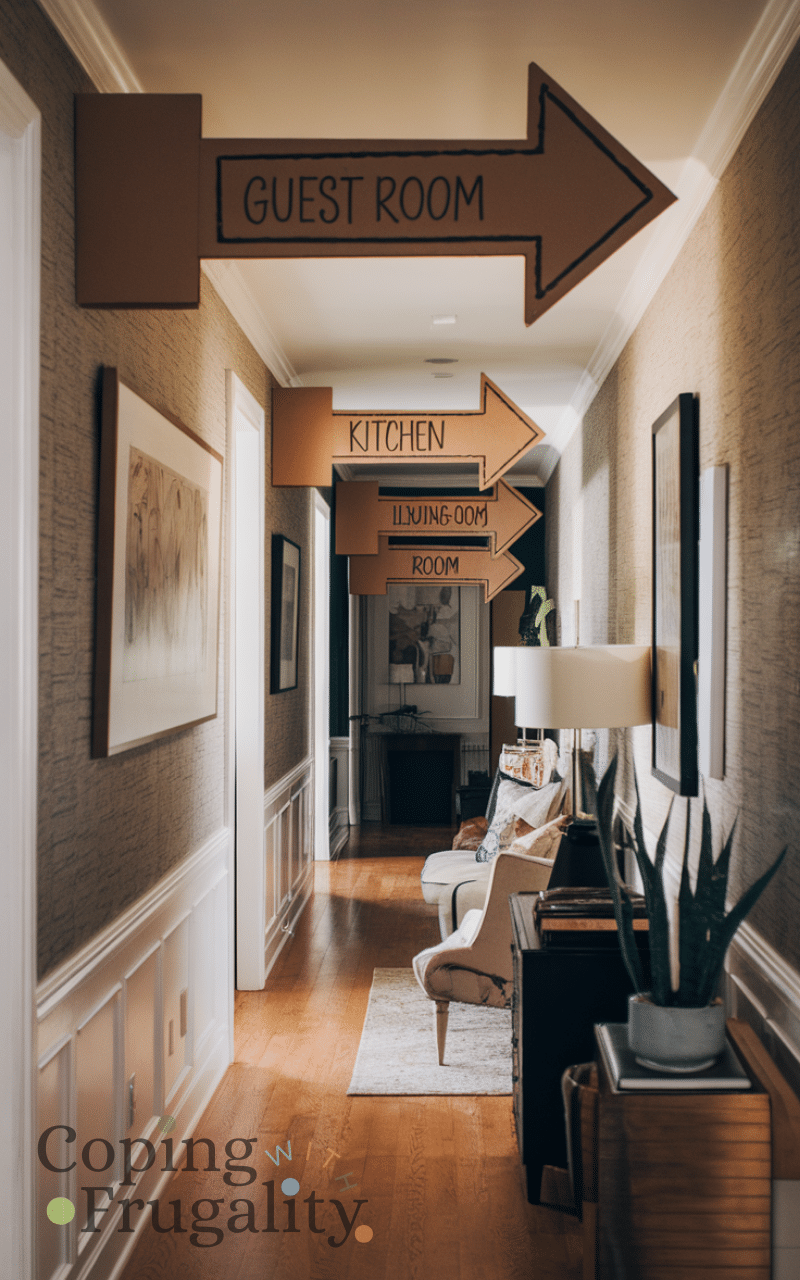
Directional arrows are playful DIY hallway signs on a budget ideas. Cut arrow shapes from cardboard or thin wood, paint them, and label each room. This works especially well in long hallways. It adds character while guiding guests around your home in a fun way.
I made arrows for $2–$5 from thin scrap wood, and they instantly make the hallway fun and practical. To save, I often cut shapes from leftover crates instead of buying new boards. I like labeling each arrow with rooms or playful phrases—it adds personality. One common error is making the arrows too large; proportionality is key for balance. These signs are cheerful, inexpensive, and functional all at once.
2. Quote Painted Directly on Paper
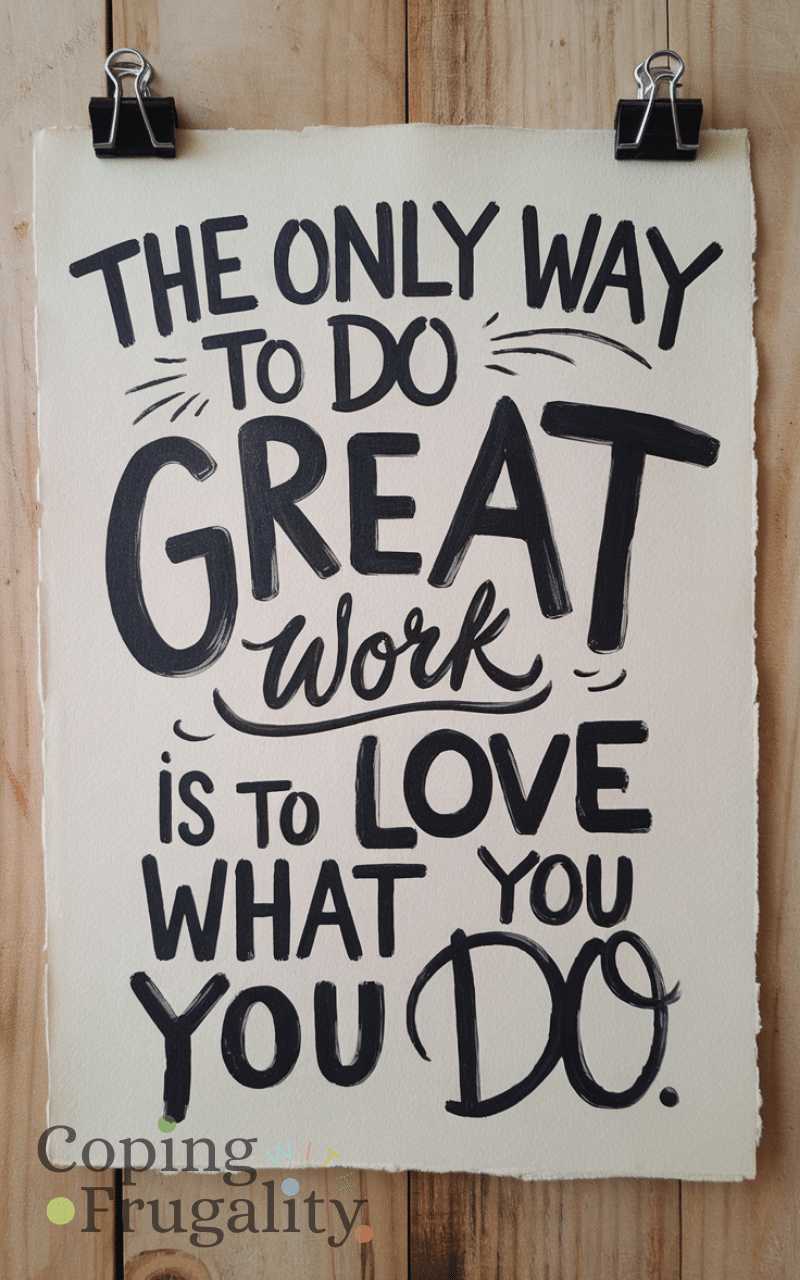
Hand-painting quotes on thick paper is perfect for DIY hallway signs on a budget. You don’t need advanced calligraphy—simple lettering works beautifully. Frame the paper or hang it with clips. This idea feels artistic and personal, even with minimal supplies.
Hand-painting quotes cost me around $3 per sheet using basic acrylics. To save, I buy cheap thick paper or repurpose packaging. I personally recommend simple, bold lettering—it looks intentional even if it’s not perfect. People often over-decorate the surrounding paper; letting the words breathe looks cleaner. For me, this project feels both artistic and personal with minimal cost or effort.
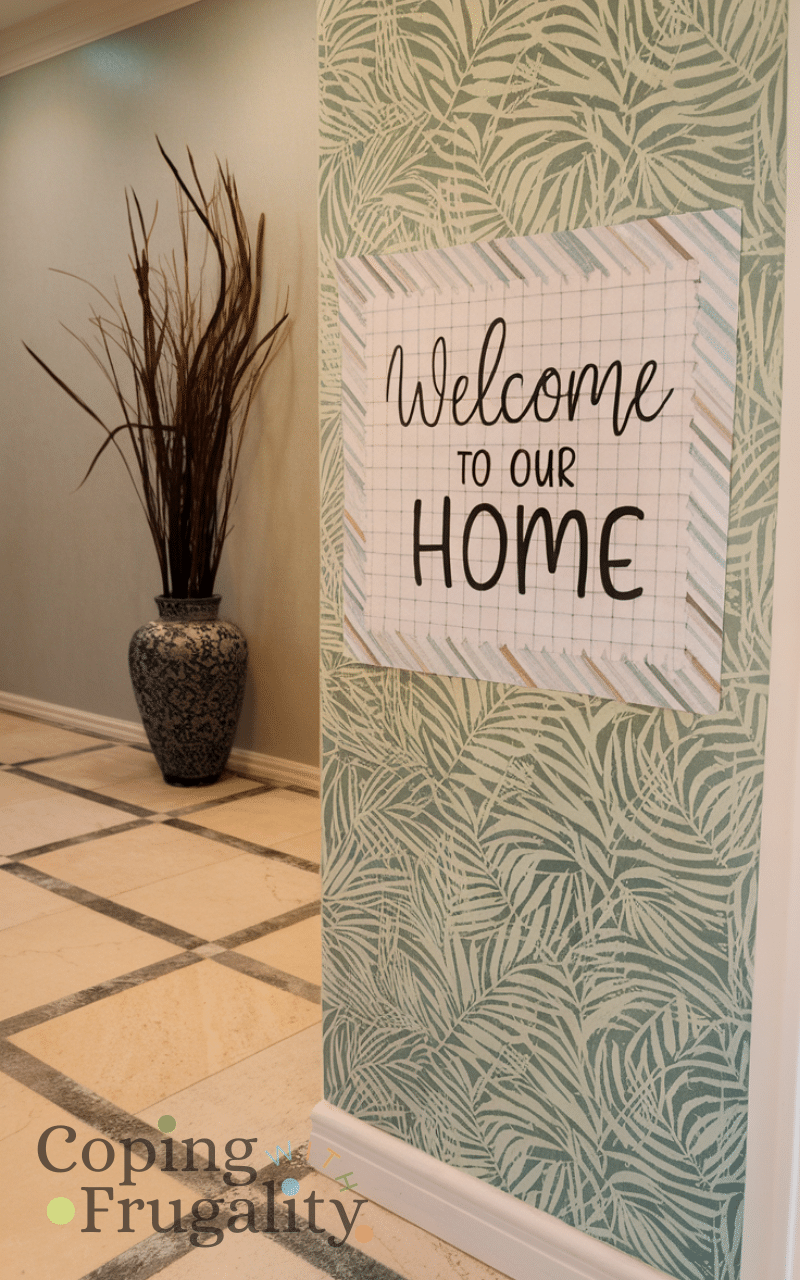
1. Simple “Home” Wall Sign
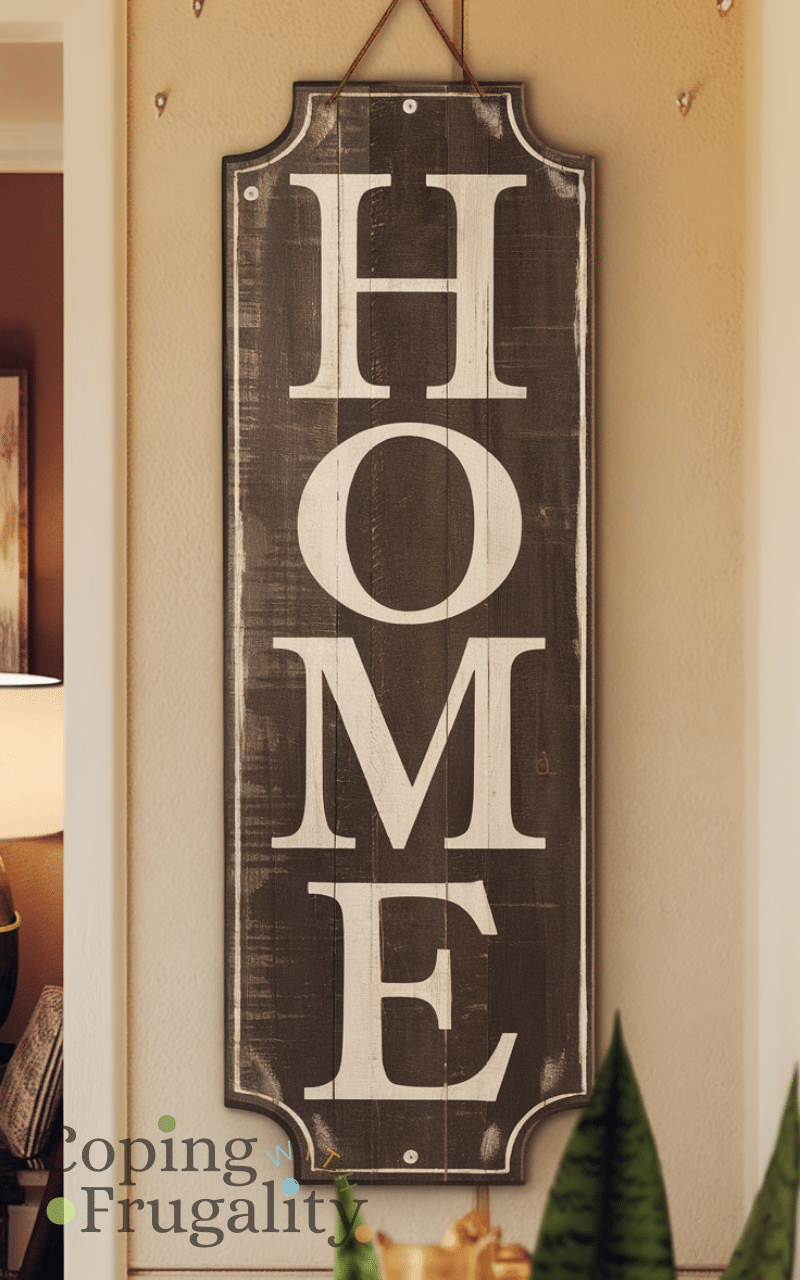
A classic “Home” sign is one of the most timeless DIY hallway signs on a budget. Use wood, cardboard, or canvas and keep the design simple. Neutral colors work with any décor style. This sign instantly makes your hallway feel cozy and welcoming without costing much at all.
I created a “Home” sign for under $5 using cardboard and paint, and it’s my favorite go-to project. A money-saving tip is to use leftover materials from other DIYs—it almost feels free. I recommend neutral tones—they work with any décor and instantly make the hallway feel cozy. A mistake I see is making it too ornate; simplicity makes it timeless. This small, classic sign elevates a hallway without spending much at all.
Conclusion: Affordable Style with DIY Hallway Signs on a Budget
Decorating your hallway doesn’t have to be expensive. With these DIY hallway signs on a budget, you can transform your space using simple materials, creativity, and a little time. Whether you love rustic, modern, or playful styles, there’s an idea here for you. If you enjoyed this list, don’t forget to subscribe to my blog for more easy, budget-friendly DIY home décor ideas you’ll love.